Cloud workstation setup
This is part is optional, but highly recommended. Chances that you have a simple laptop are very high. The power of these laptops is not enough to train sophisticated deep neural networks in a short time. At this point, there are two options: either buying an NVIDIA GPU hardware (short for graphic processing unit) or running your code on remote powerful computers provided by major tech companies. The latter is a no-brainer option since it requires lower costs and less involvement in the installation.
Among others, there are two strong candidates that provide cloud computations, namely Amazon Web Services and Google Cloud. The later provides $300 credit for 12 months, that should be sufficient for this course. Furthermore, there exists a package {cloudml} from RStudio that provides an R interface to Google’s AI Platform. That is why the choice is made in favor of Google Cloud.
First off, we will register a new Google Cloud account and make a couple of tweaks for safety and convenience.
Register Google Cloud Platform account
- Visit Google Cloud Platform and click on Get started for free.
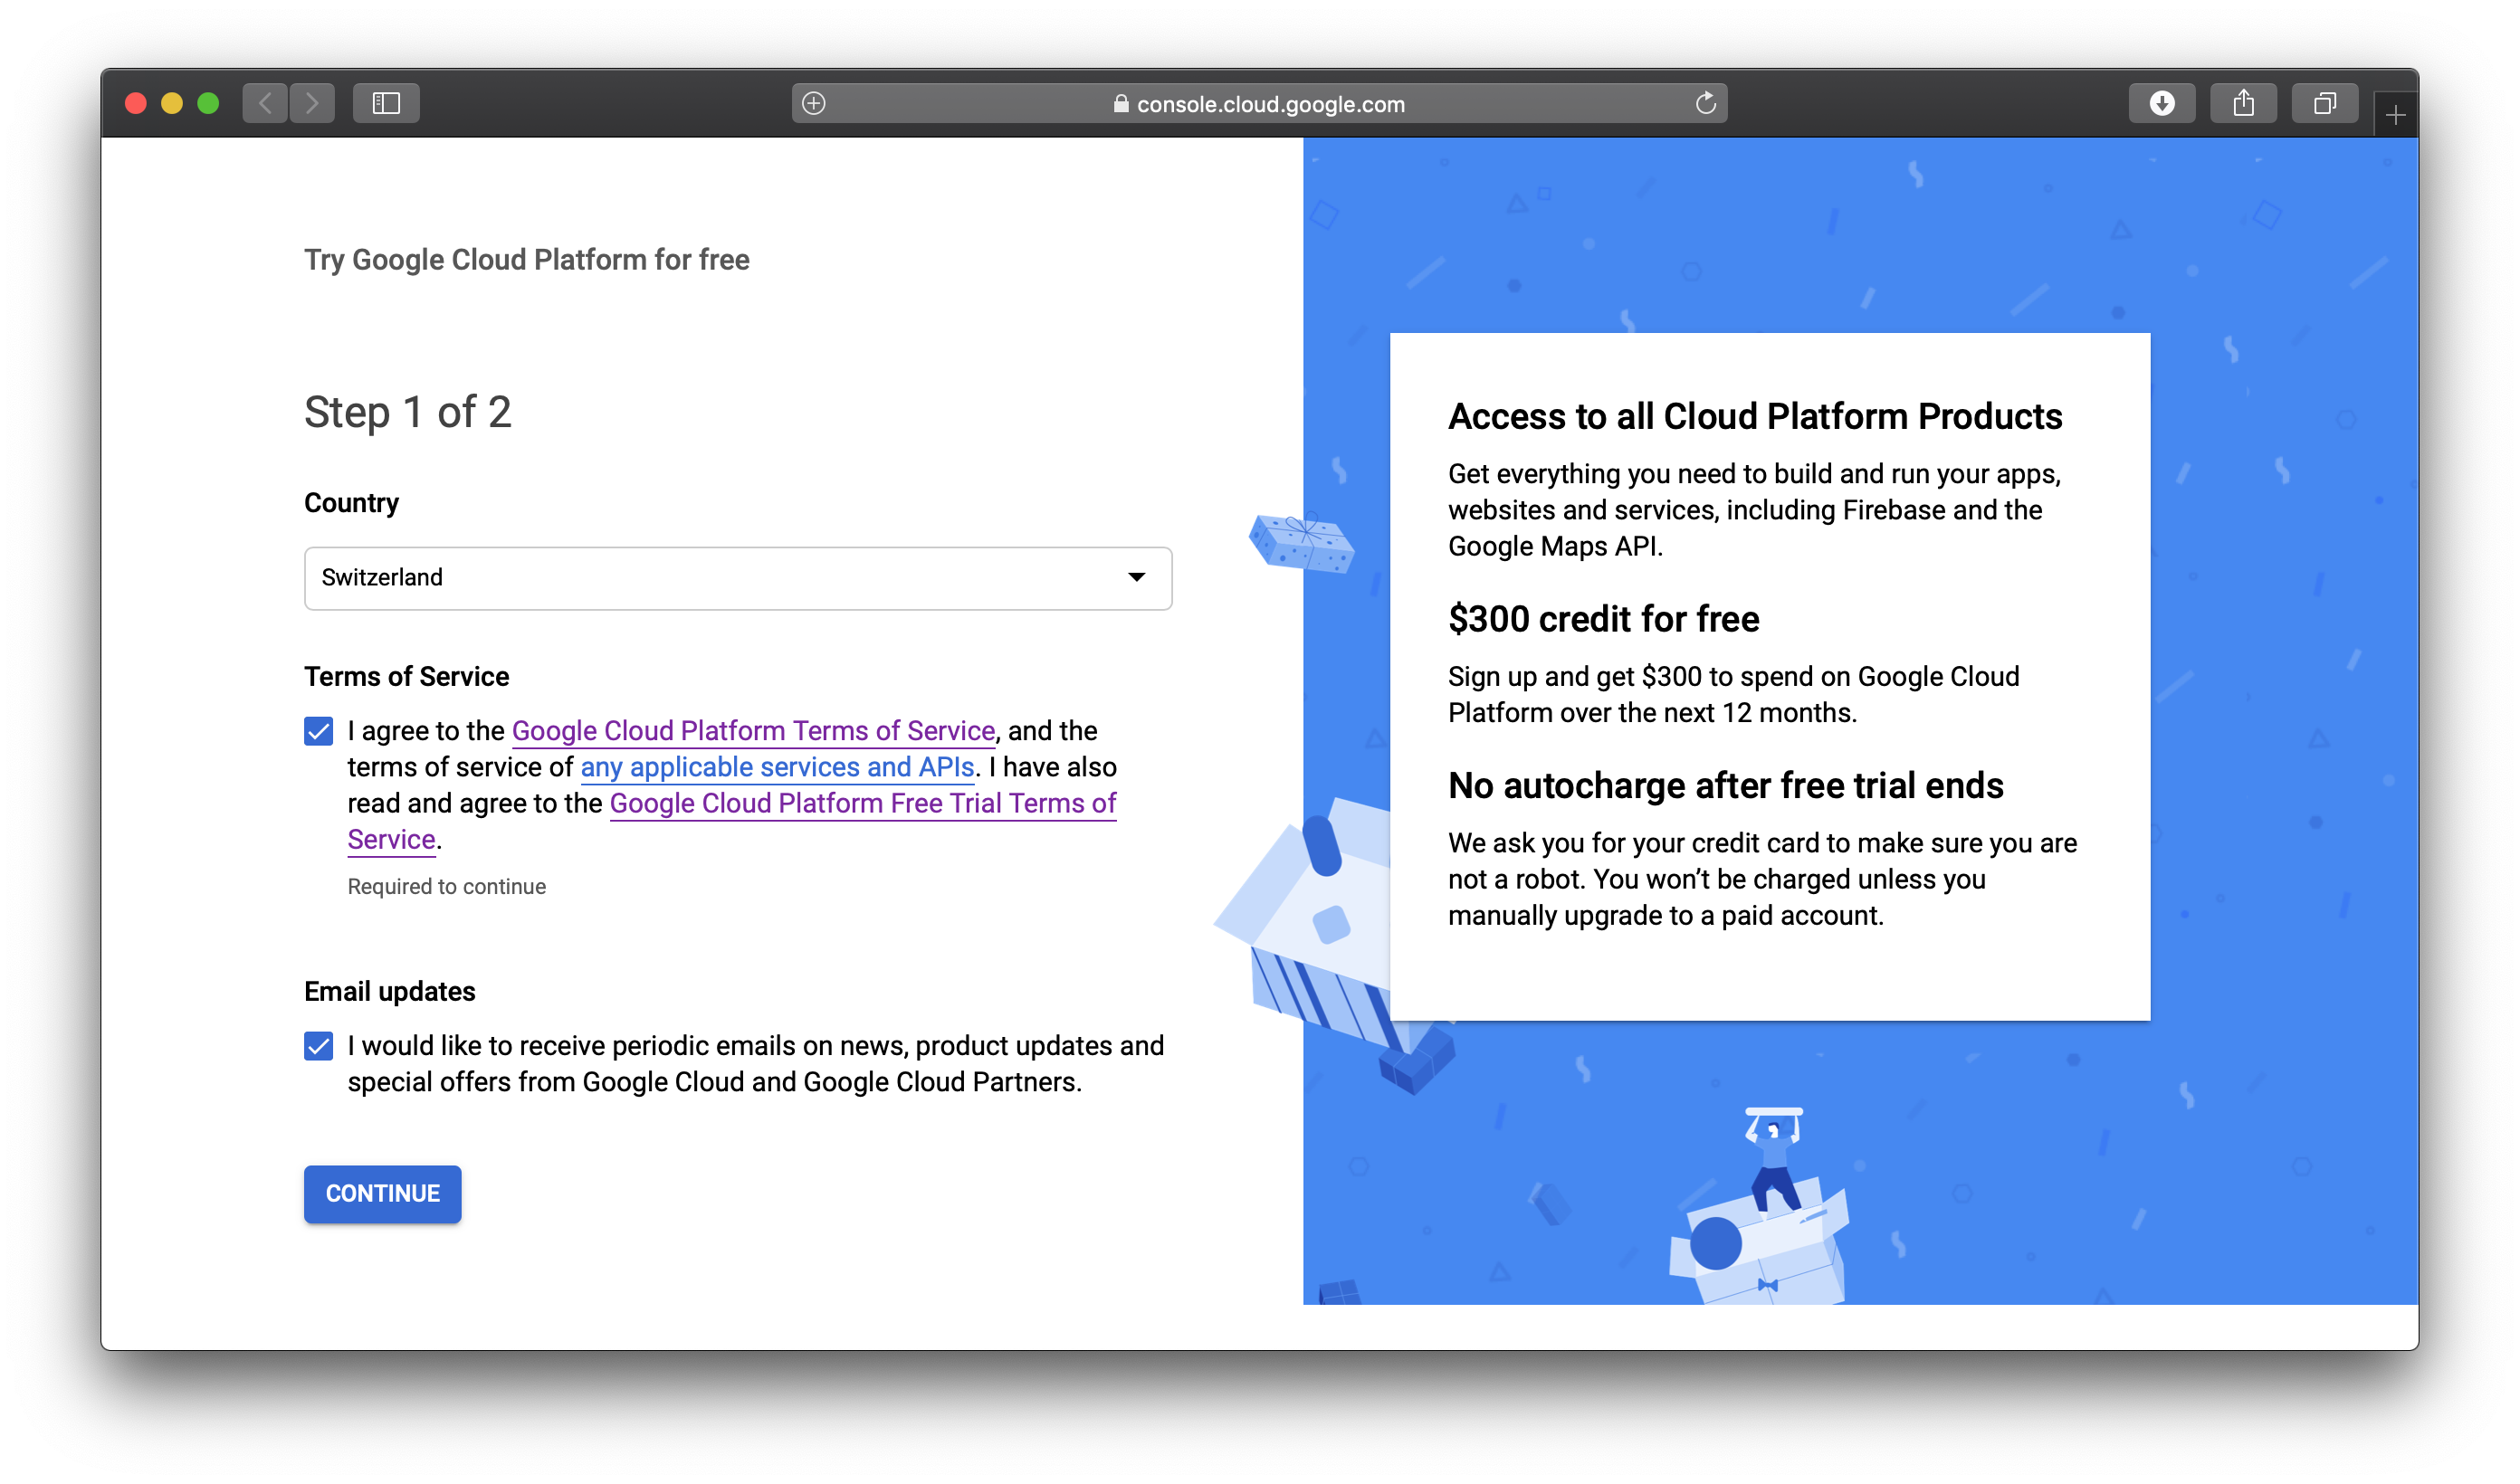
- Select Switzerland as country and check if you agree with ToS. Email updates are optional. Click Continue.
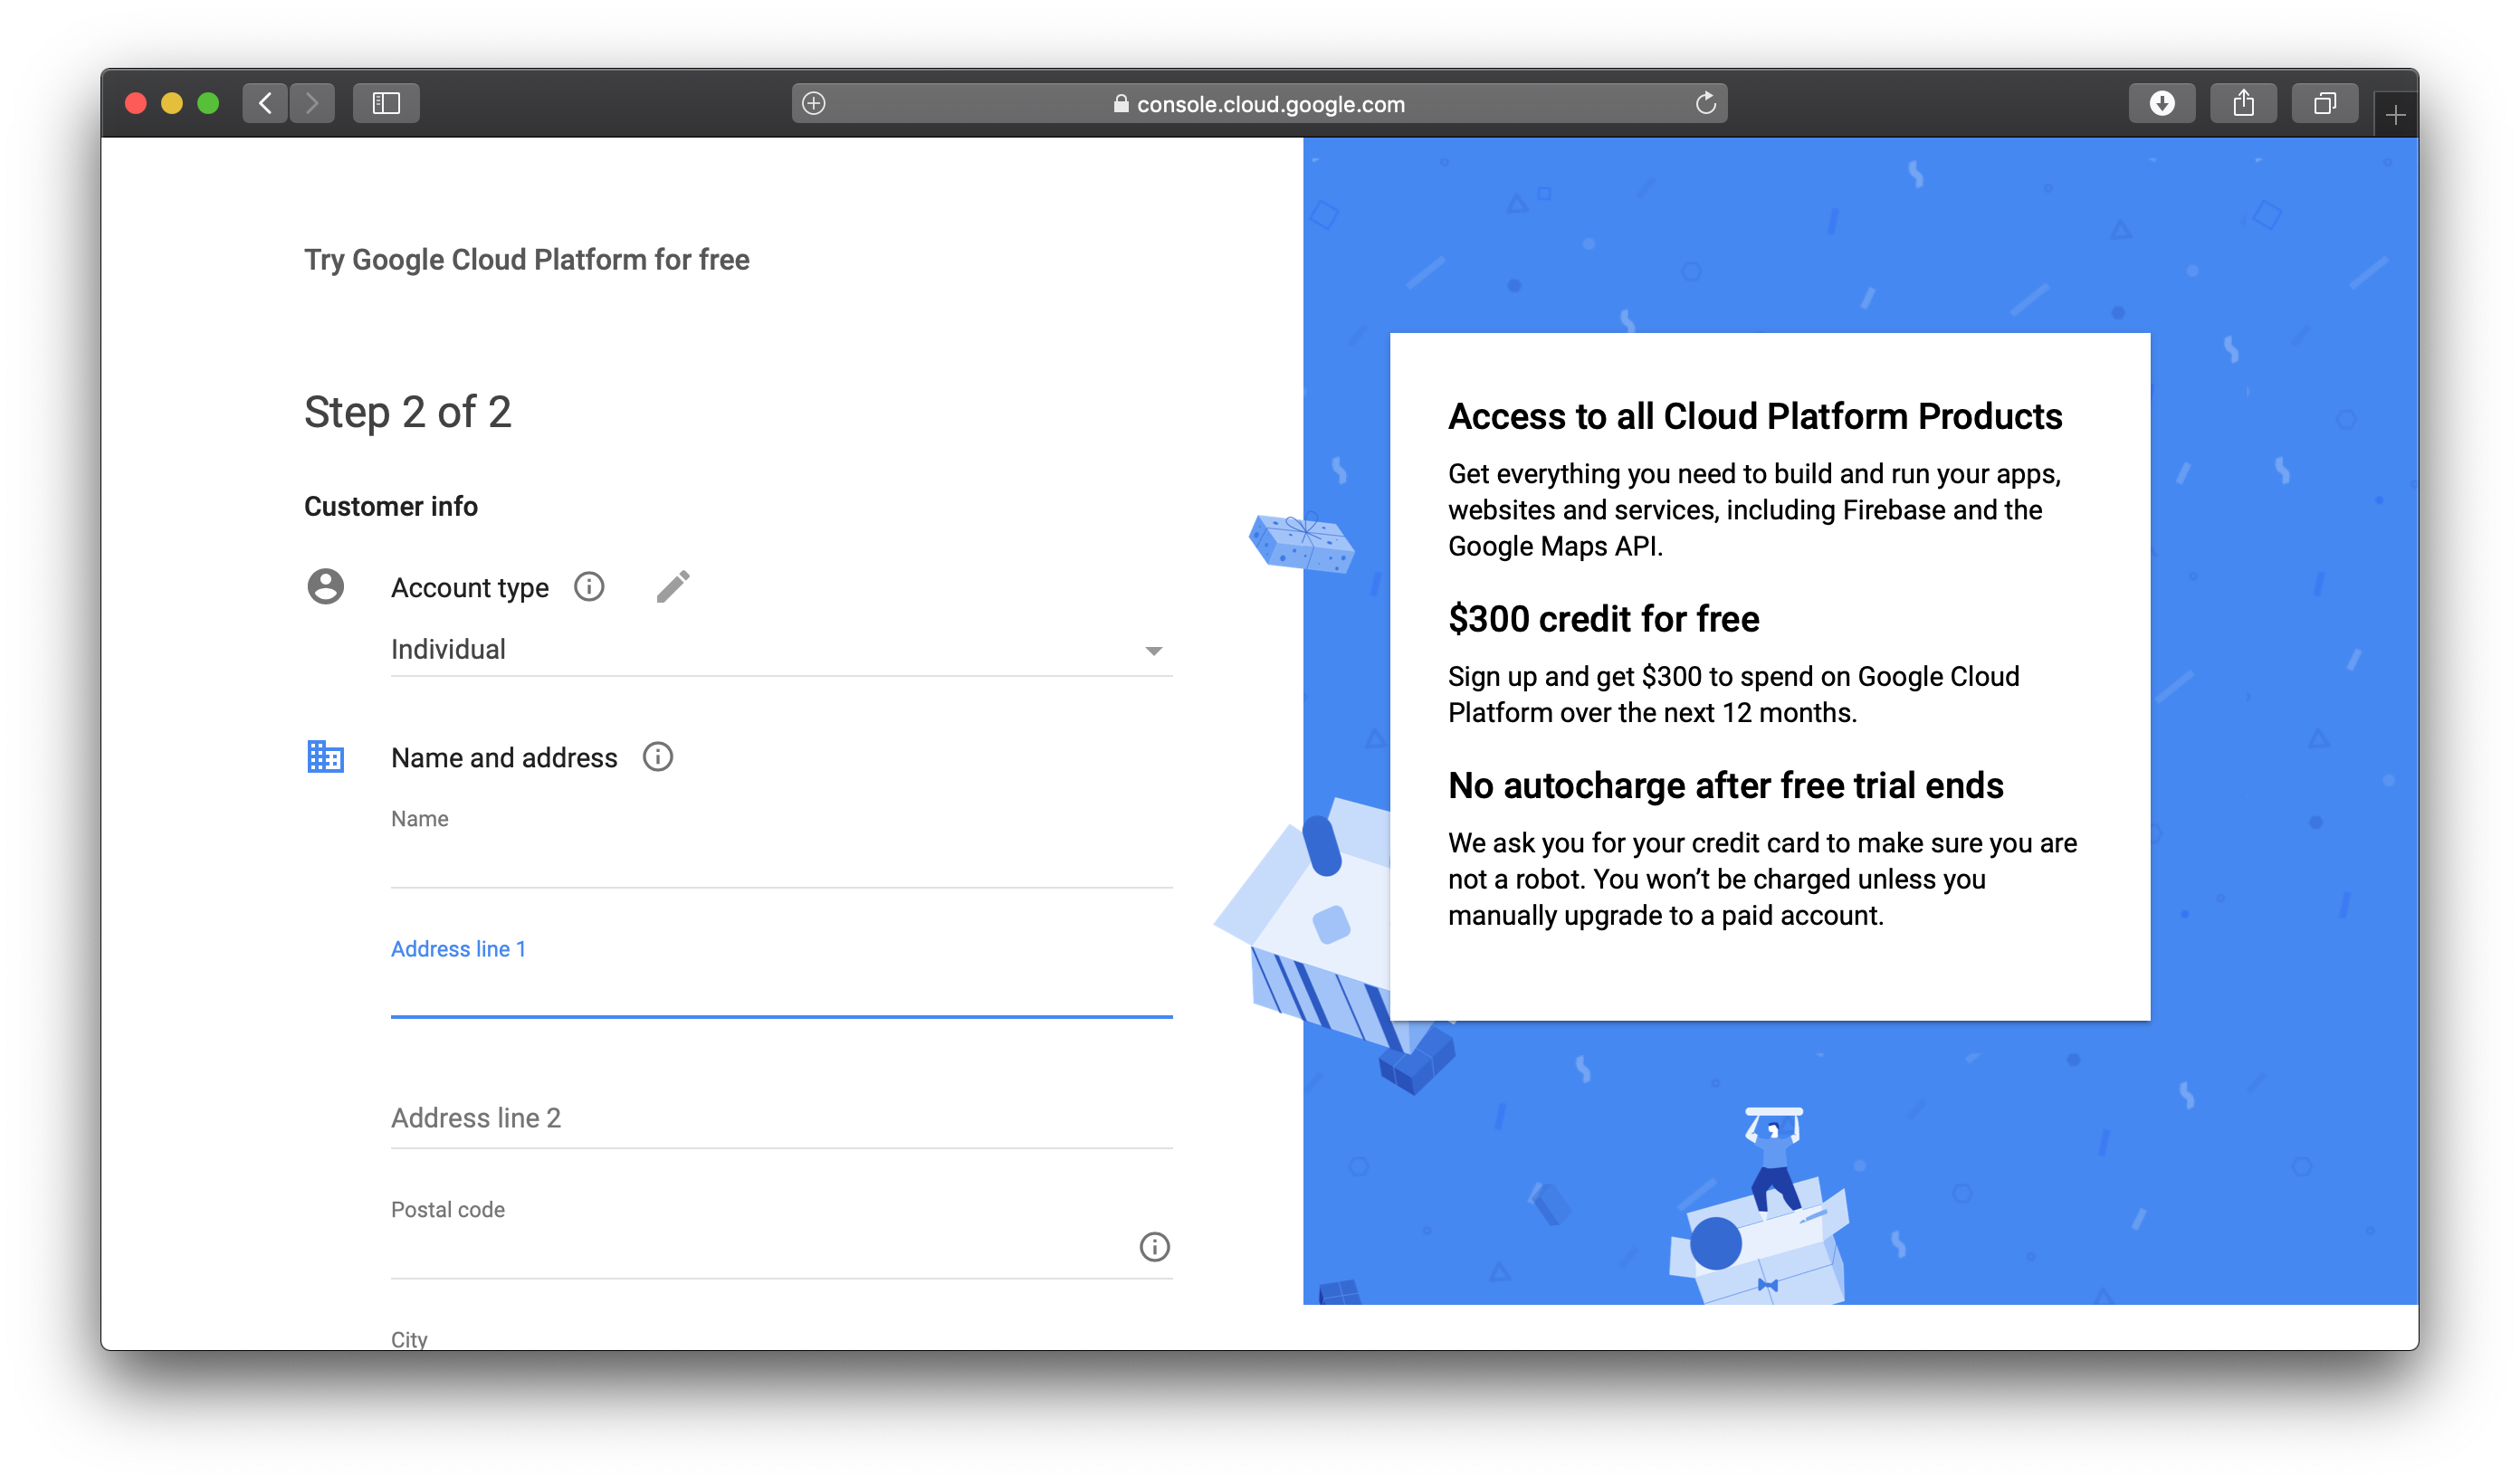
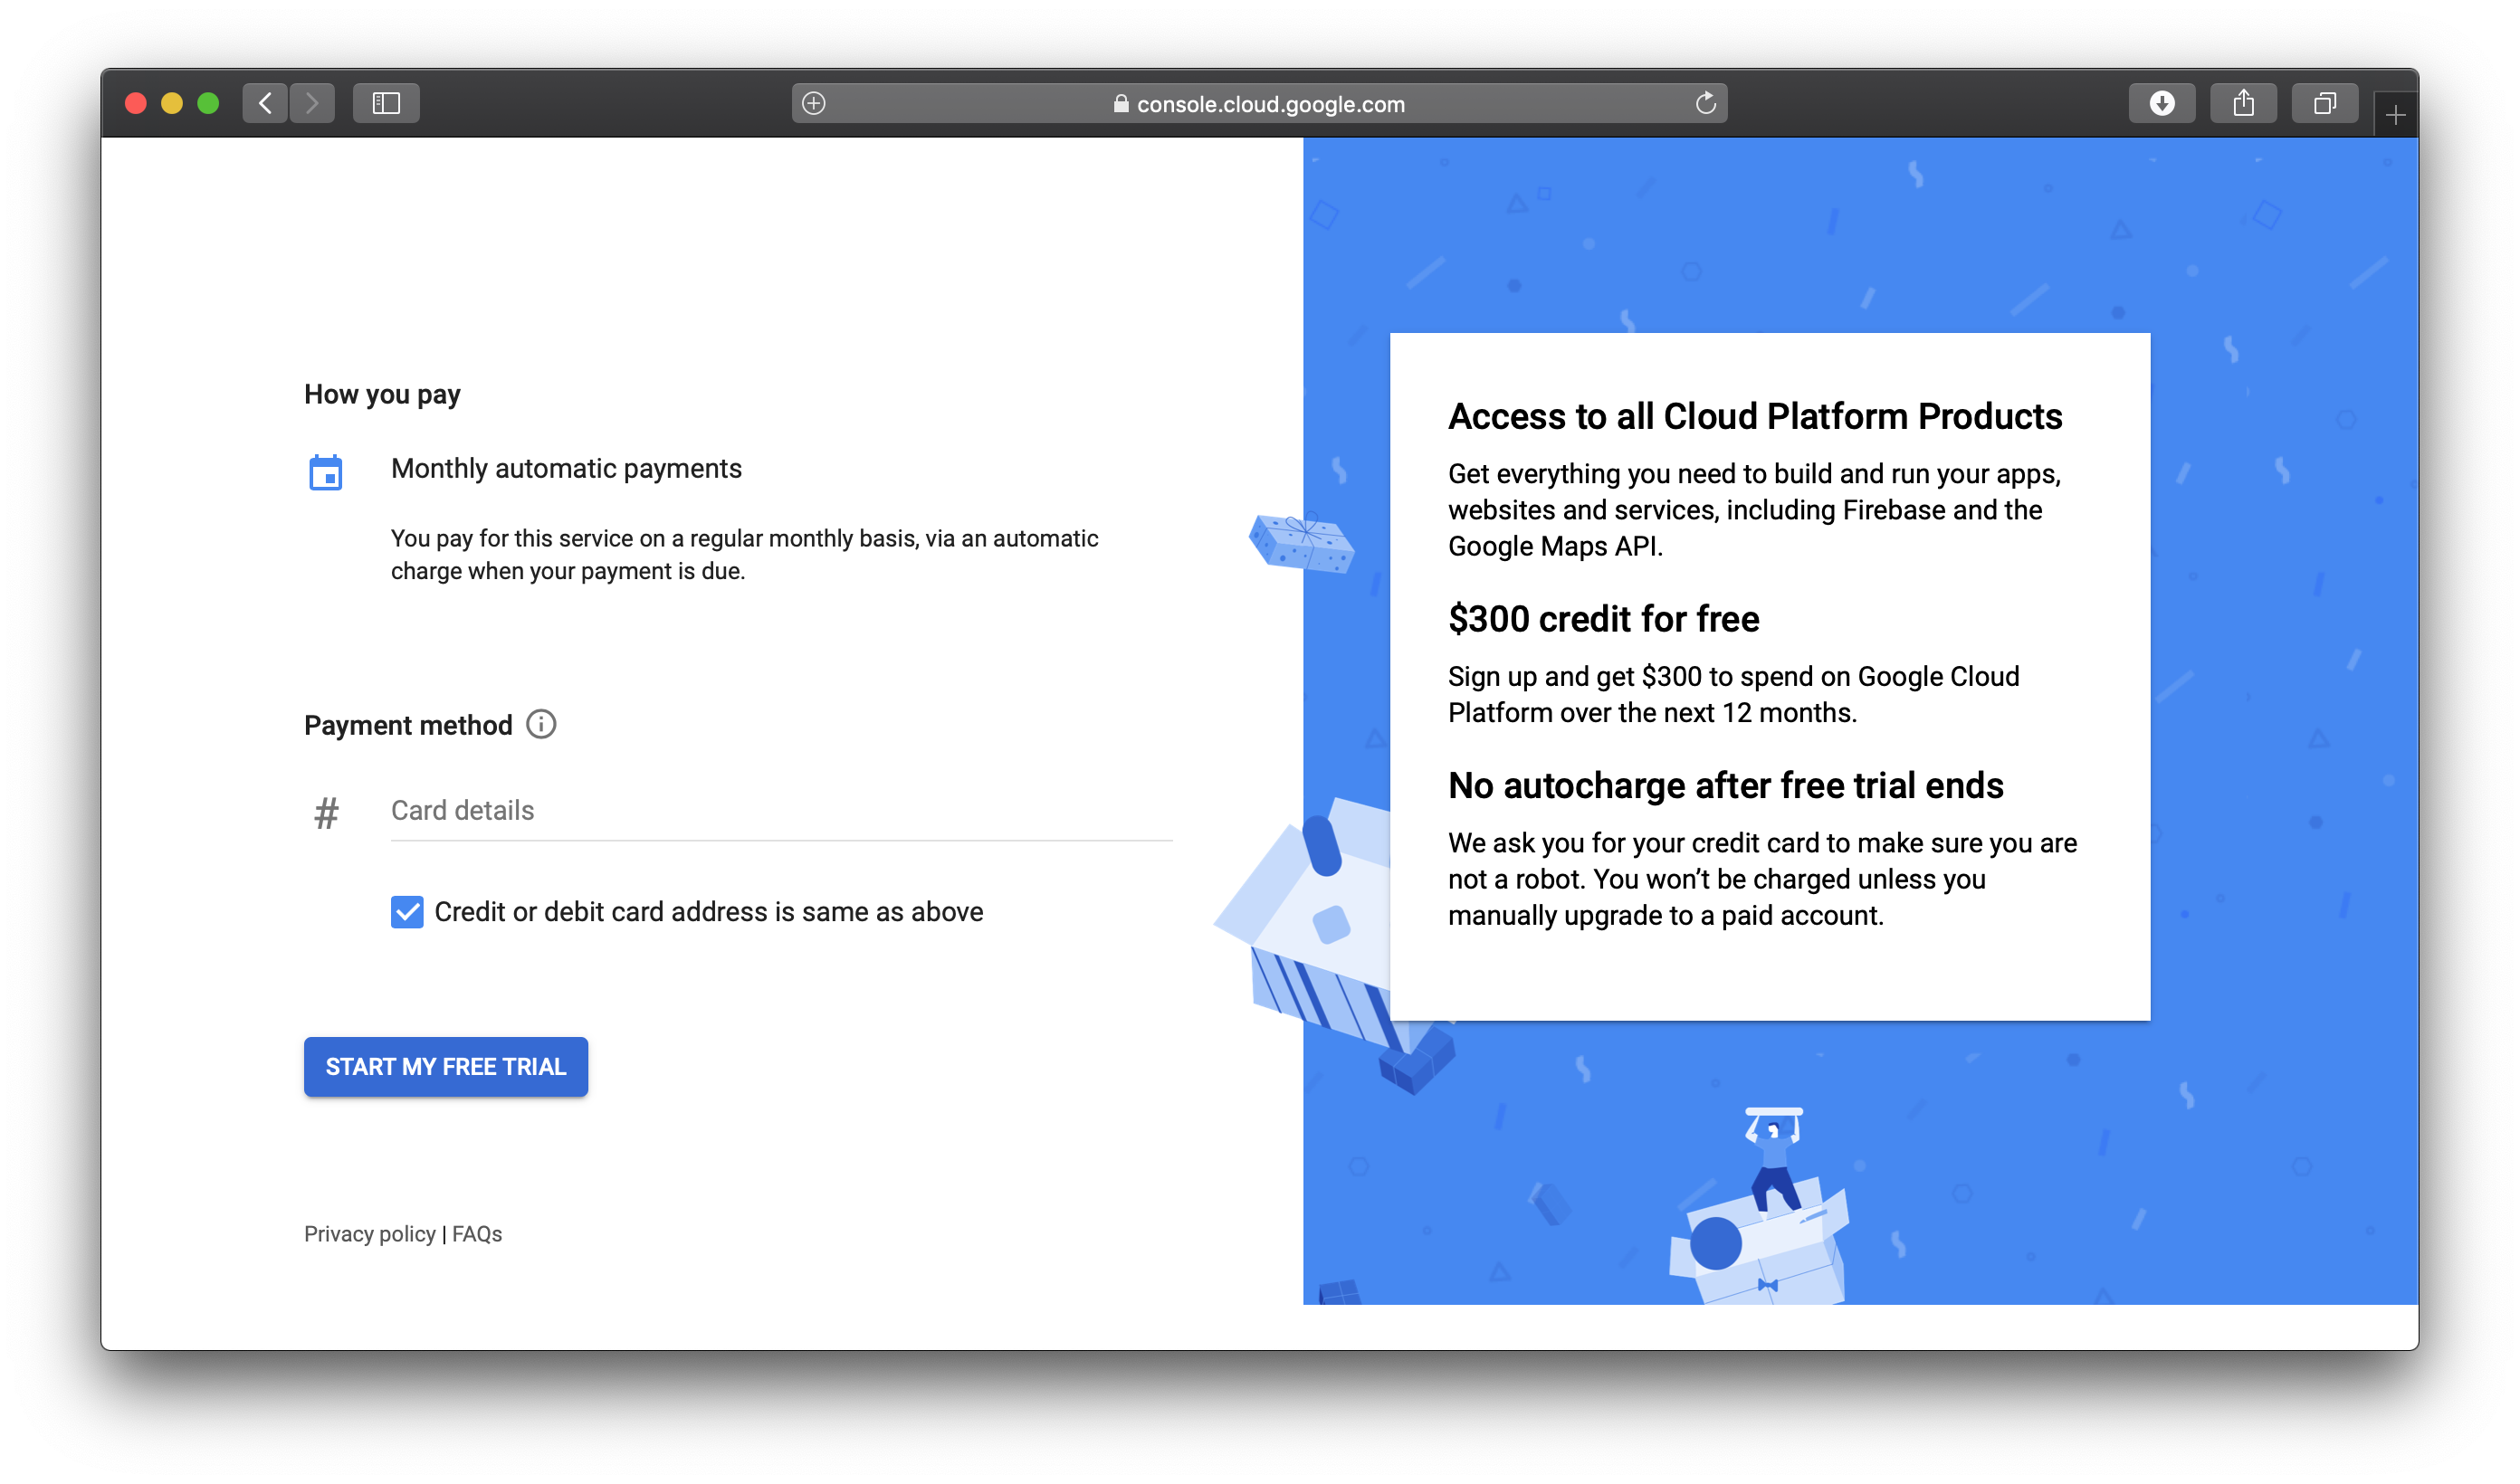
- Select Individual Account type, enter your name and address, select Monthly automatic payments, and enter your credit cards details. We need to provide credit card details so that Google can verify you are not a robot. If you worried about your credit card, you can create a virtual one in Revolut (this is not an ad). Then click on Start my free trial.
This finishes the last step of registration and you will be redirected to the Google Cloud Platform console. Google automatically creates for you a project My First Project. Now we want to set a couple of other things: set a billing alert (so we do not spend all the free trial money at once), configure the interface of console, and enable AI Platform.
To create a billing alert you need to follow these couple of steps:
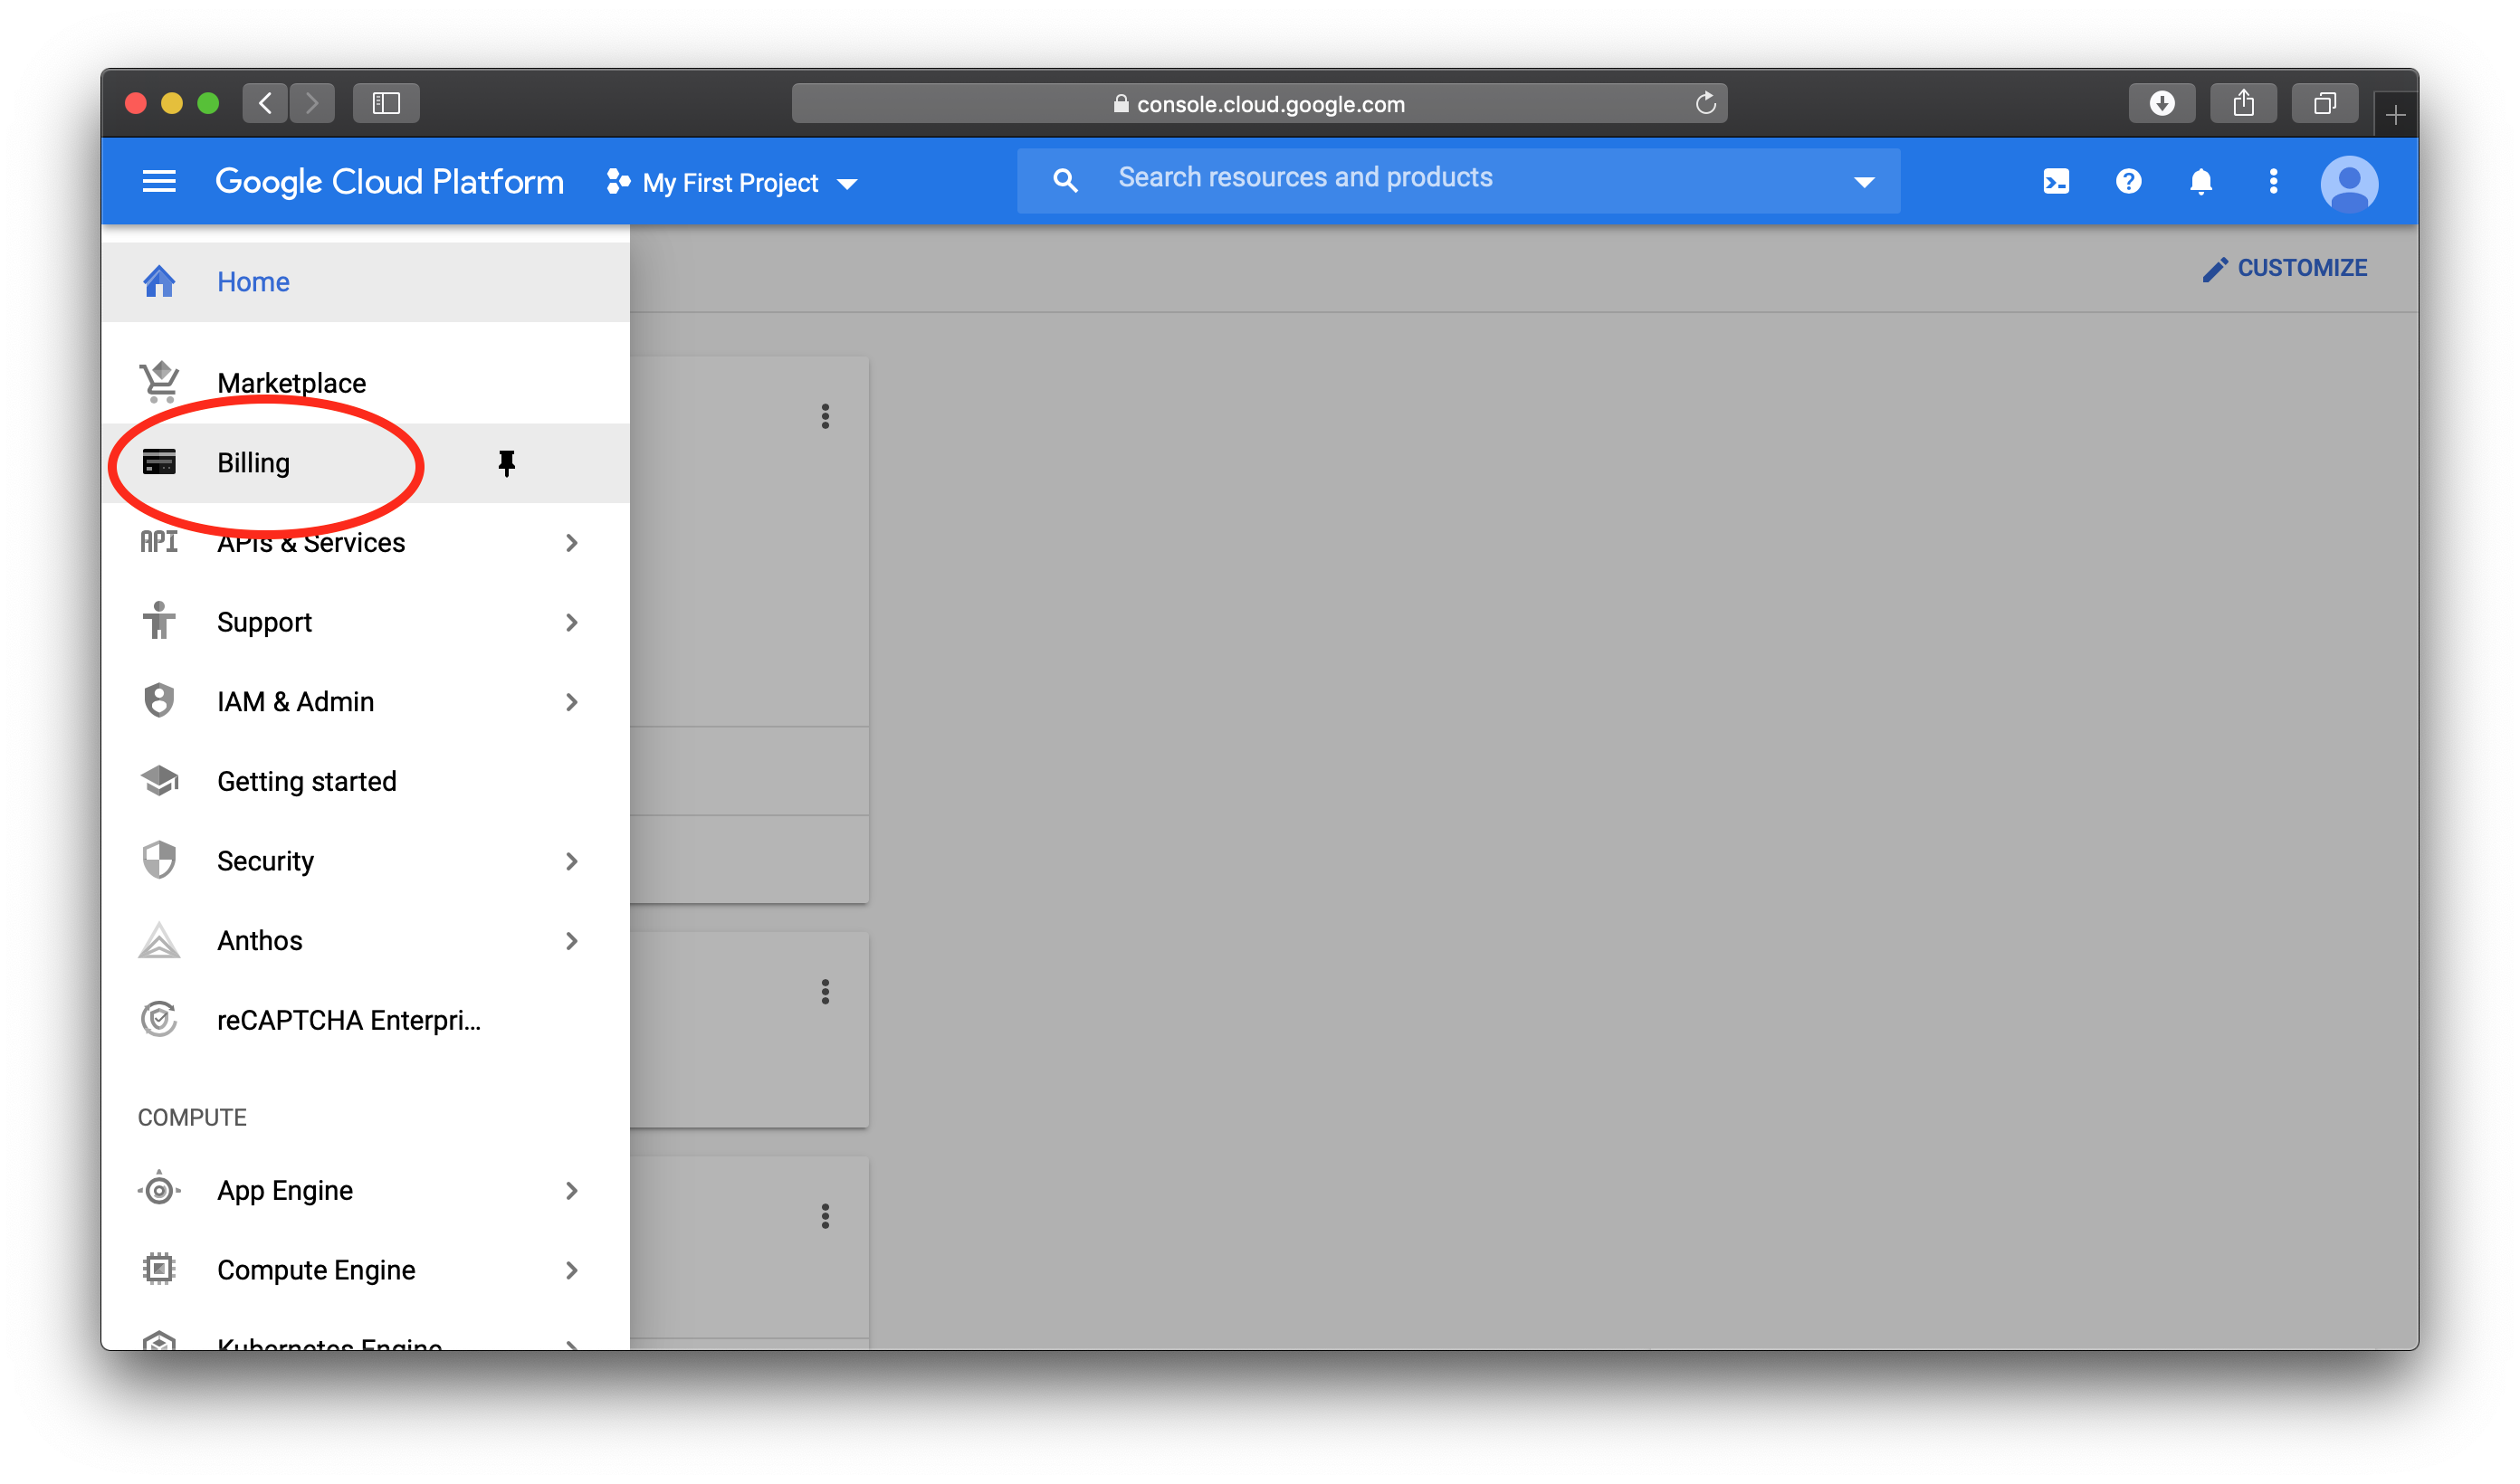
- Click on Billing
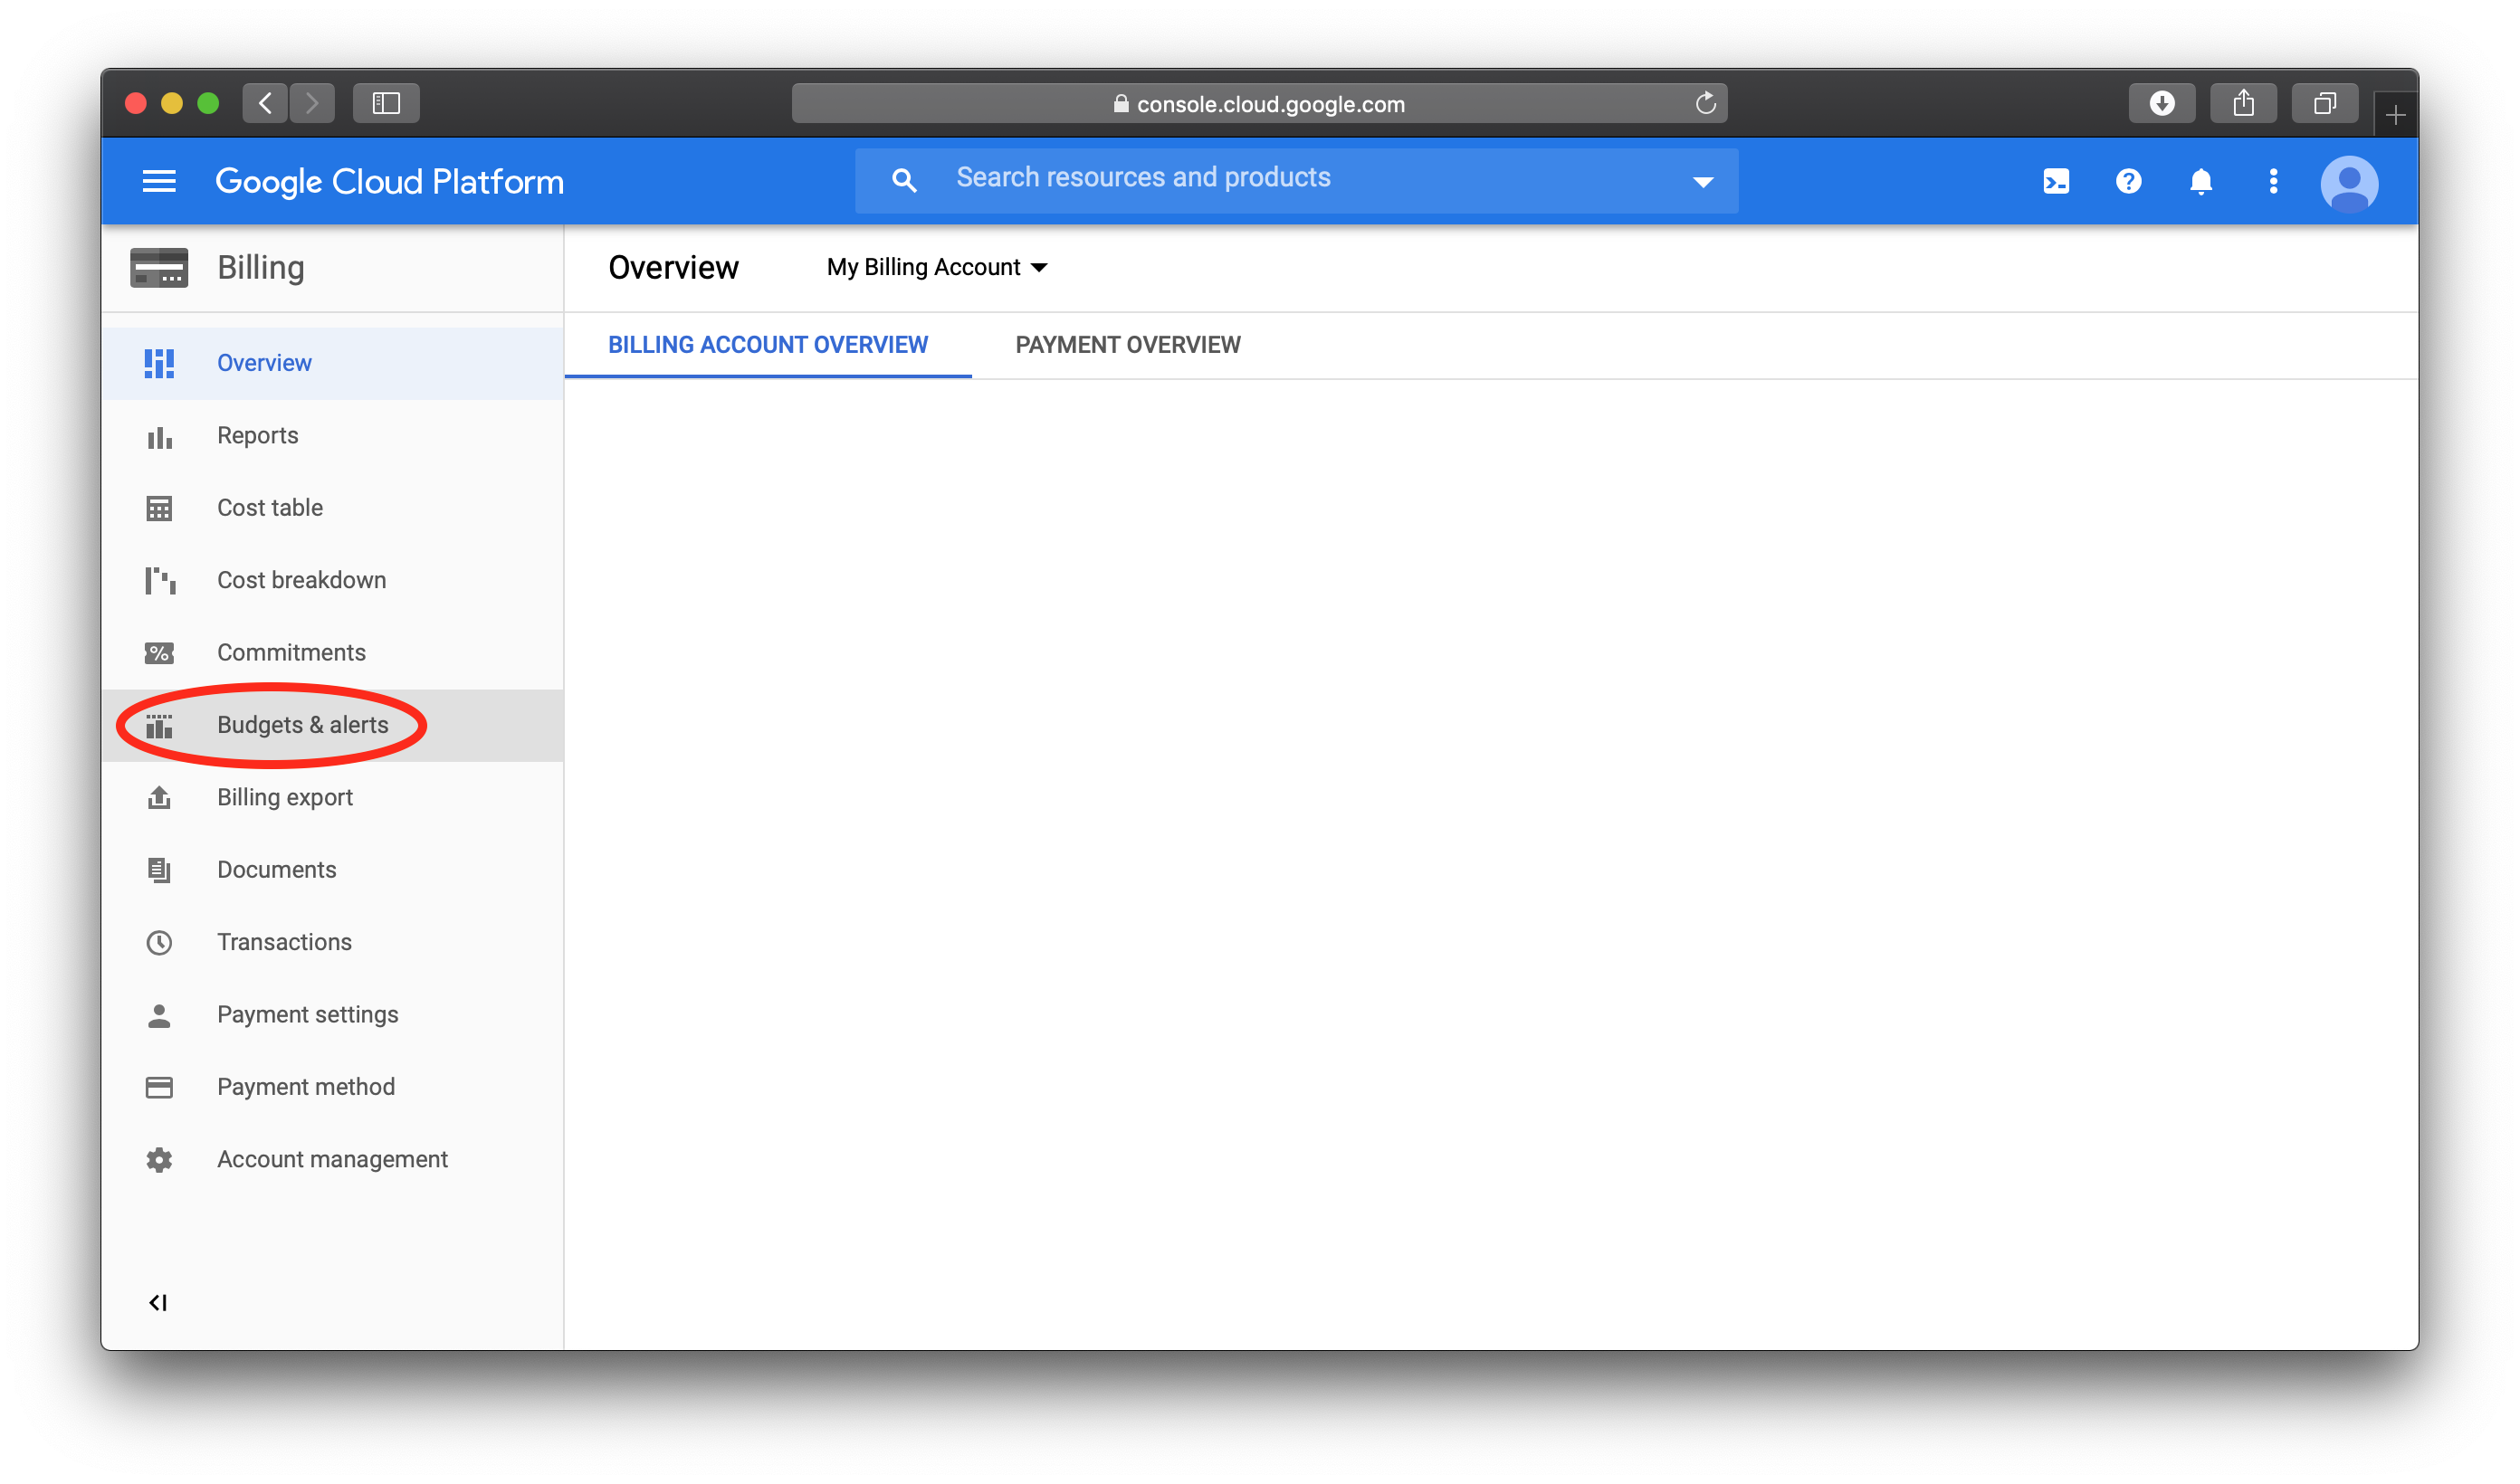
- Click on Budgets & alerts
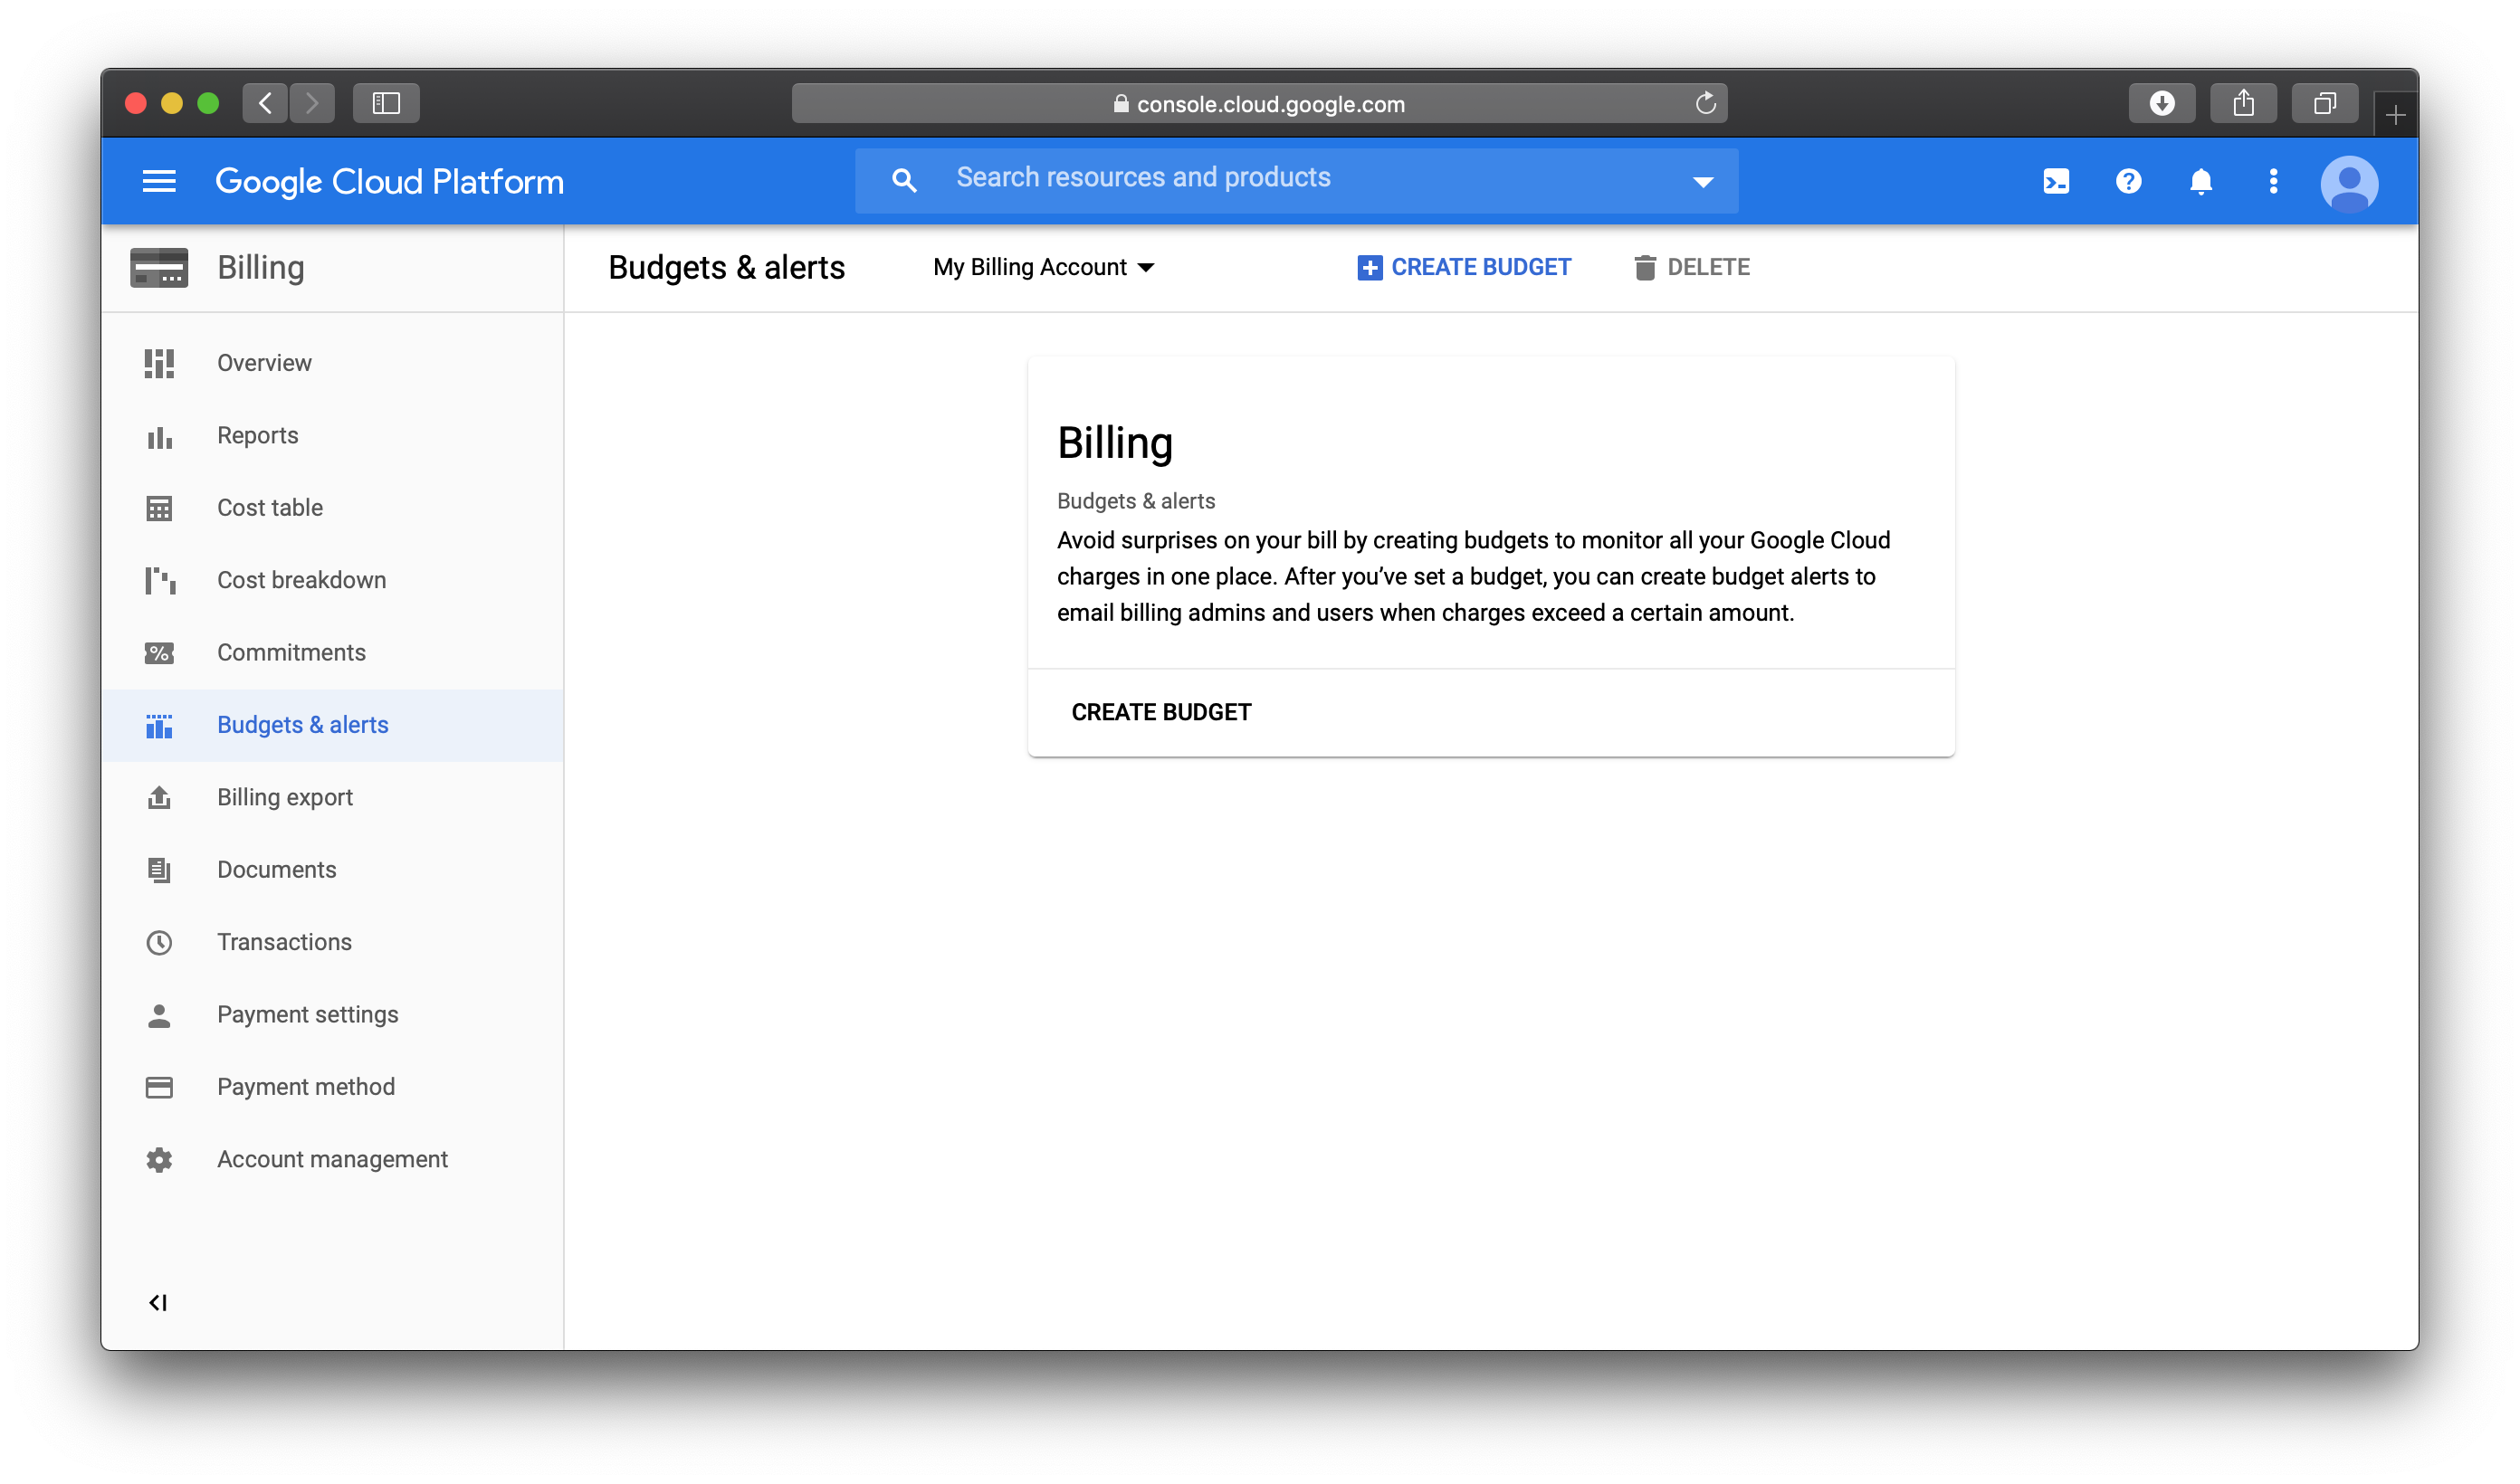
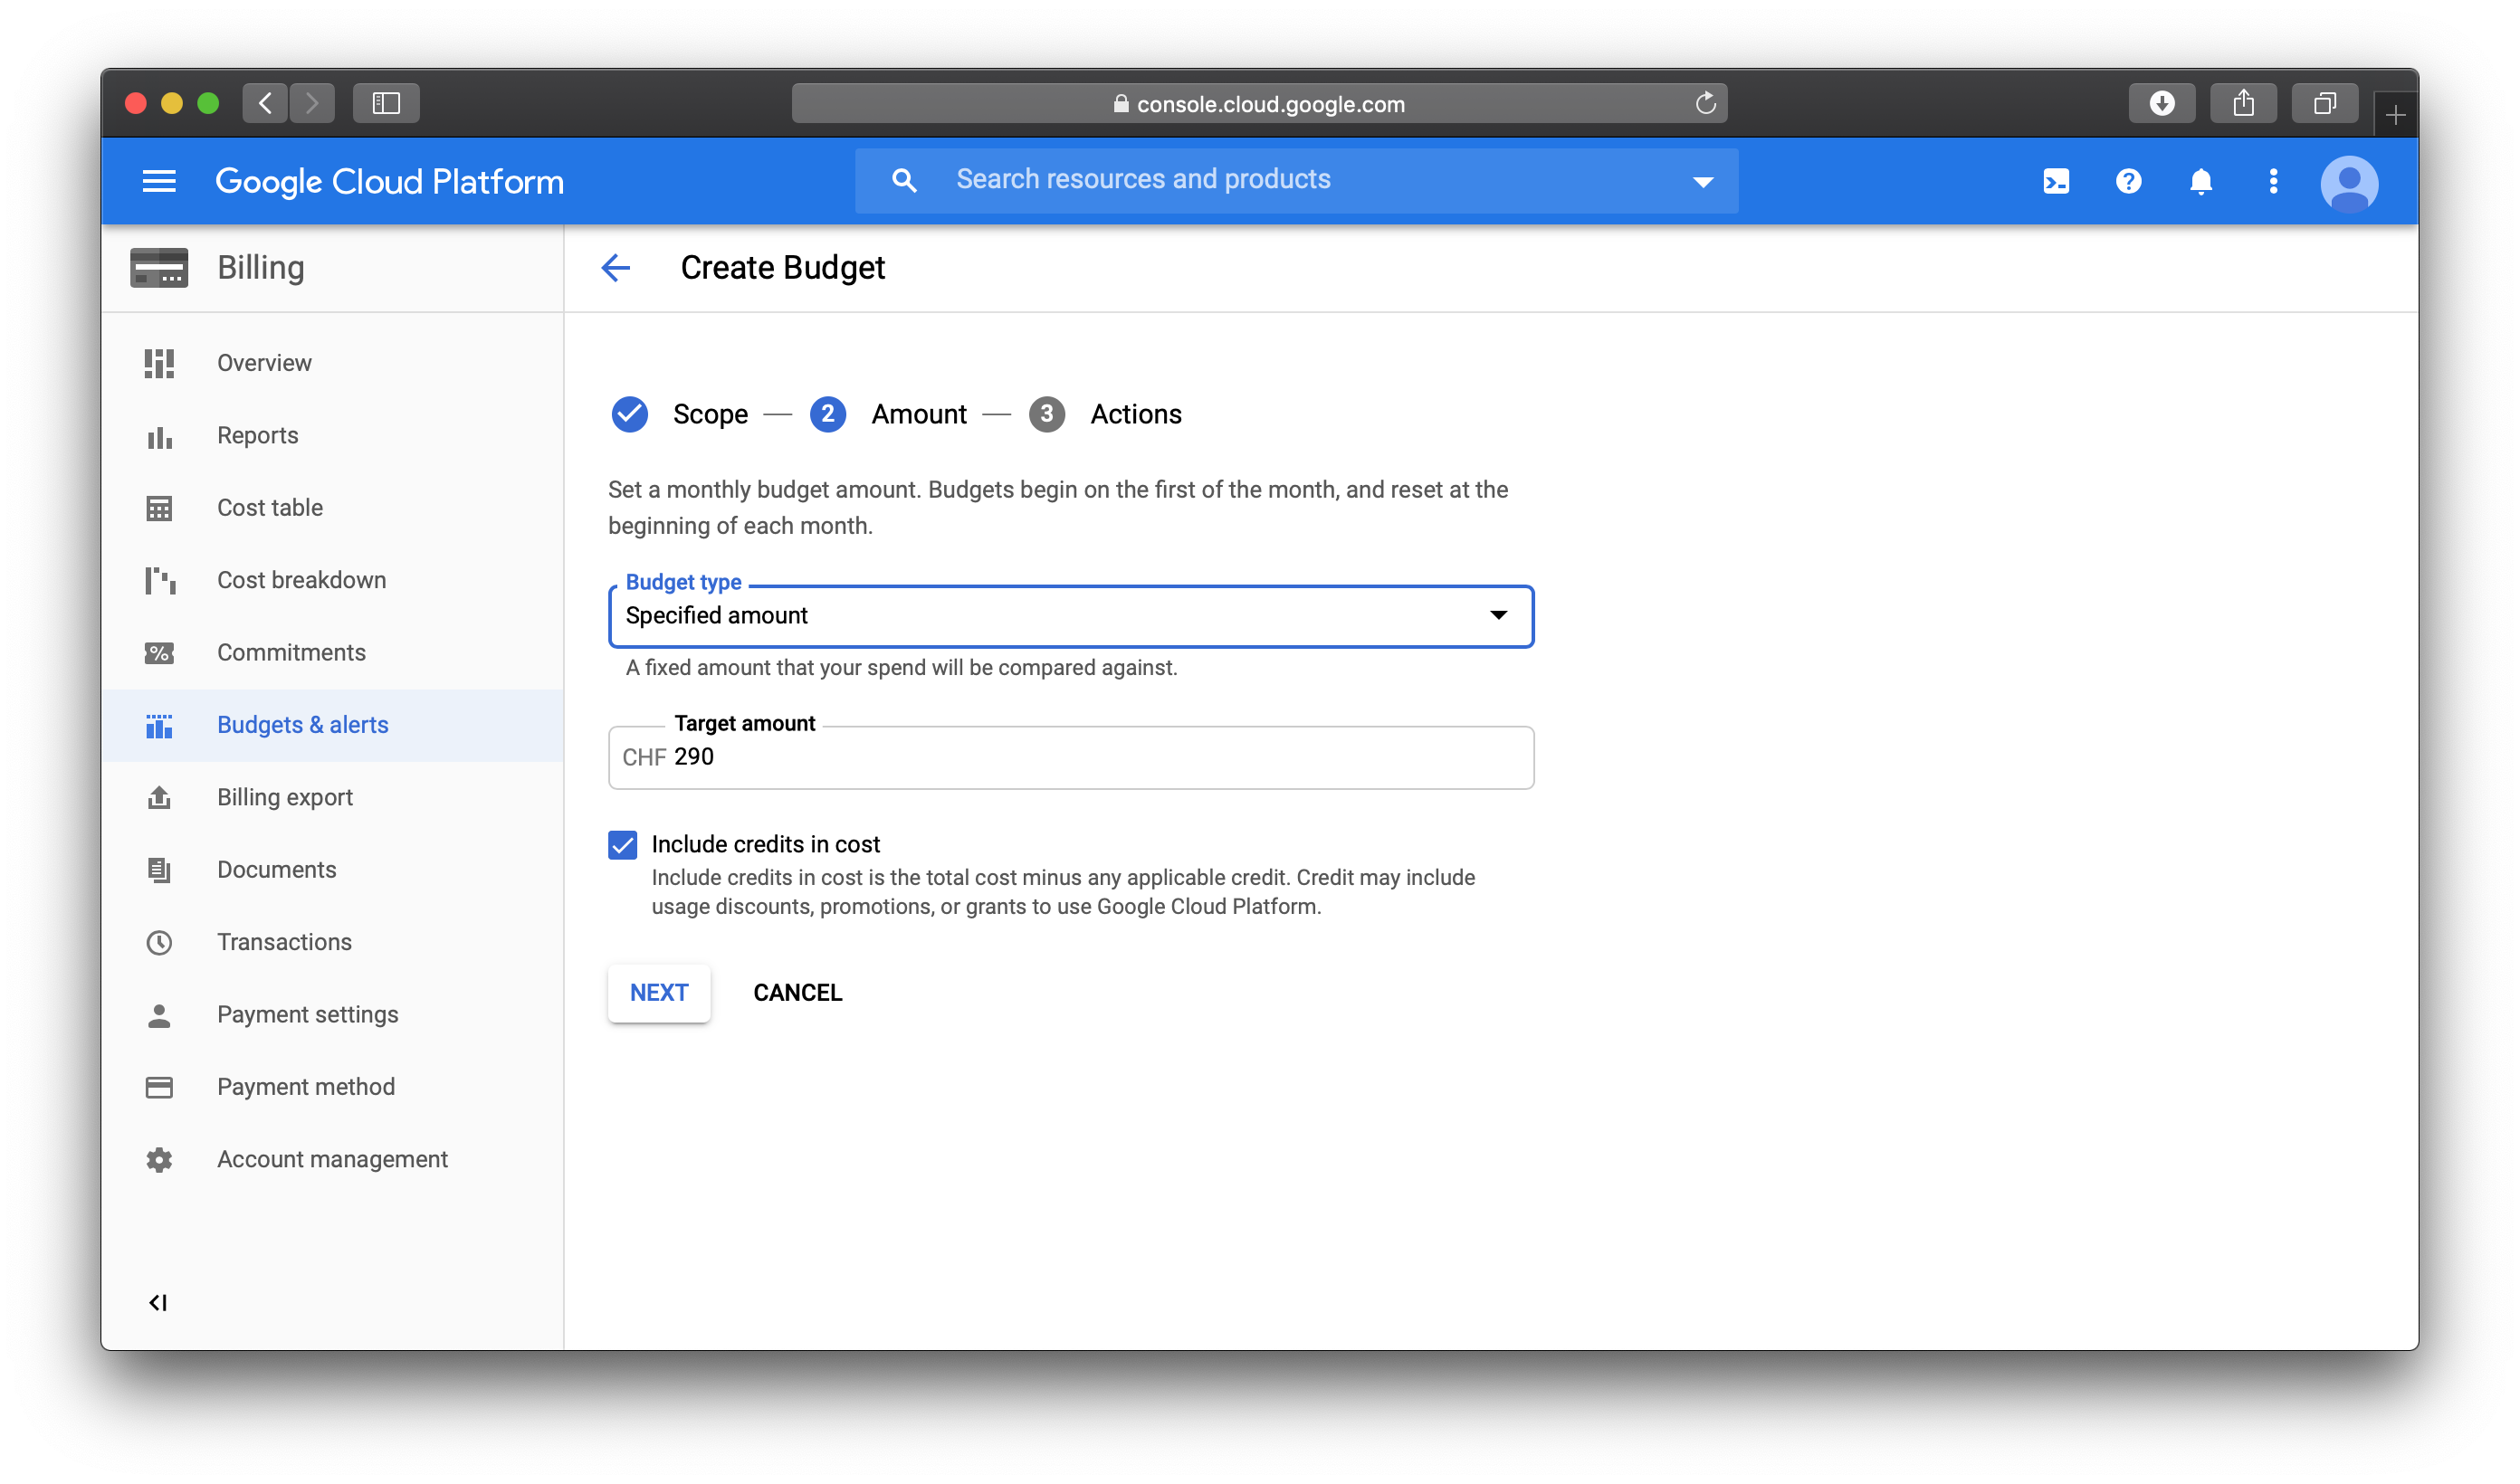
- Click on Create budget
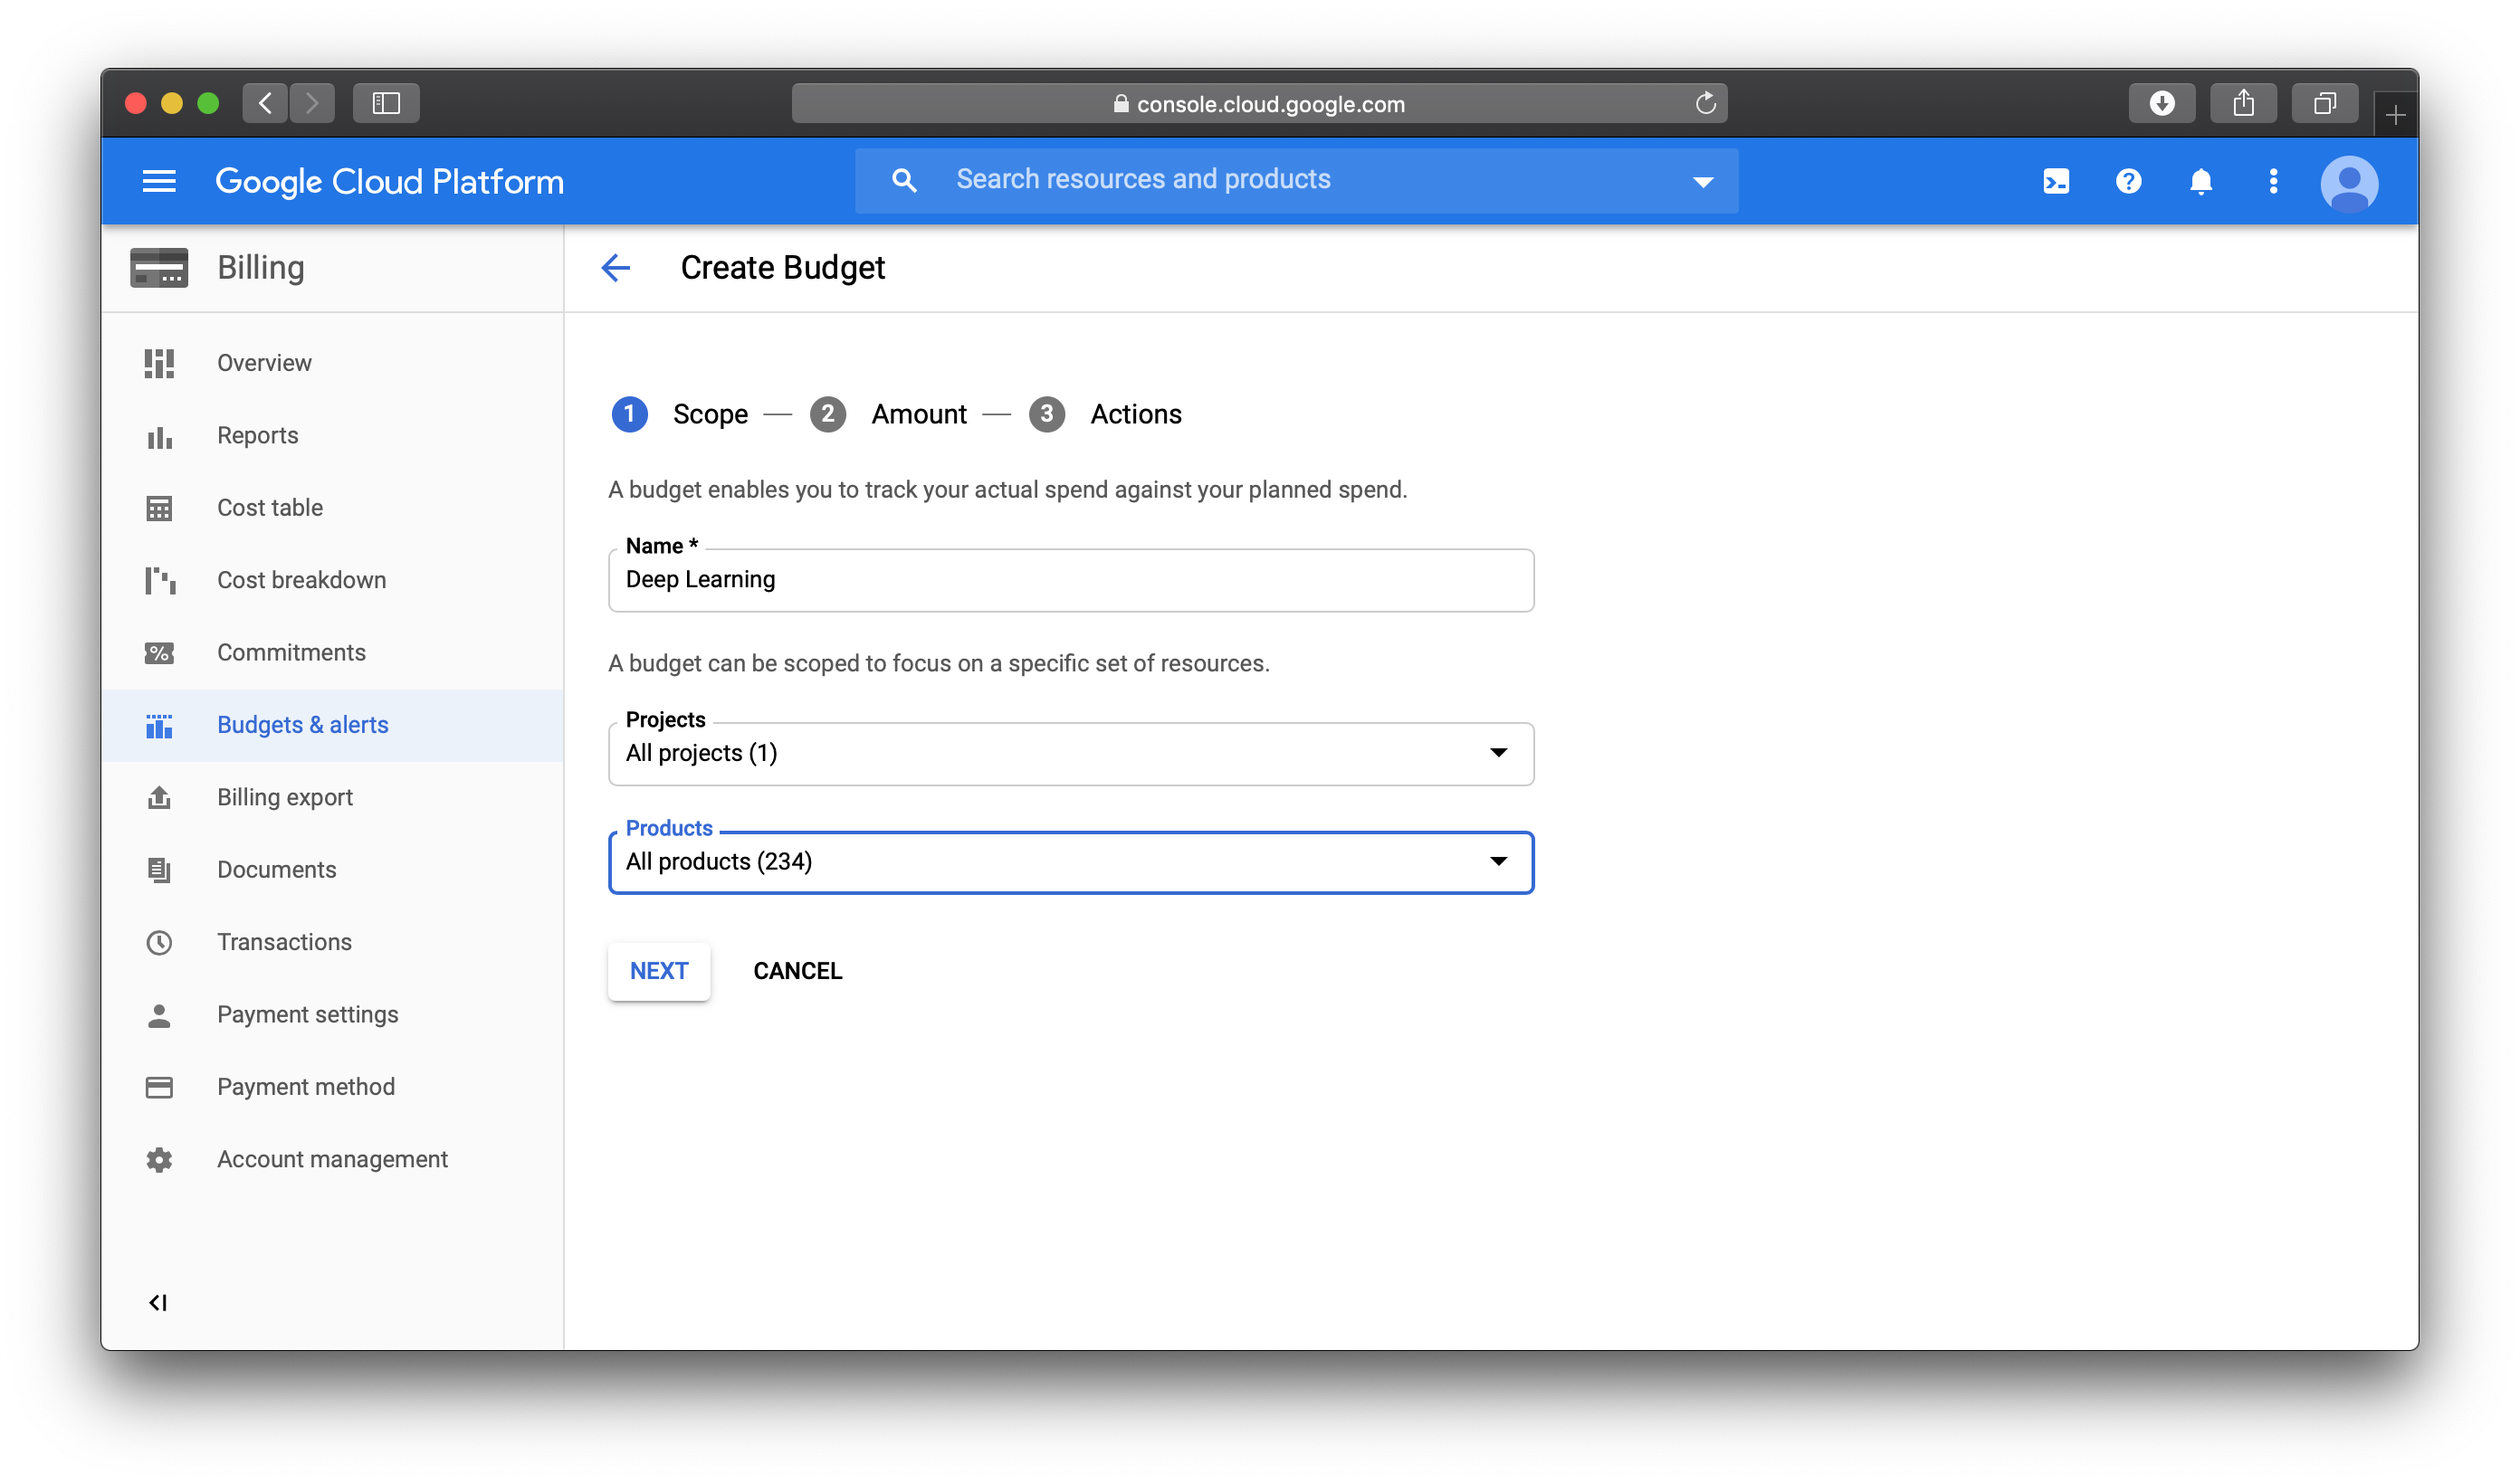
- Type the name (e.g., Deep Learning) and click Next
- Specify amount to ~CHF 290 (equivalent of $300), and click Next
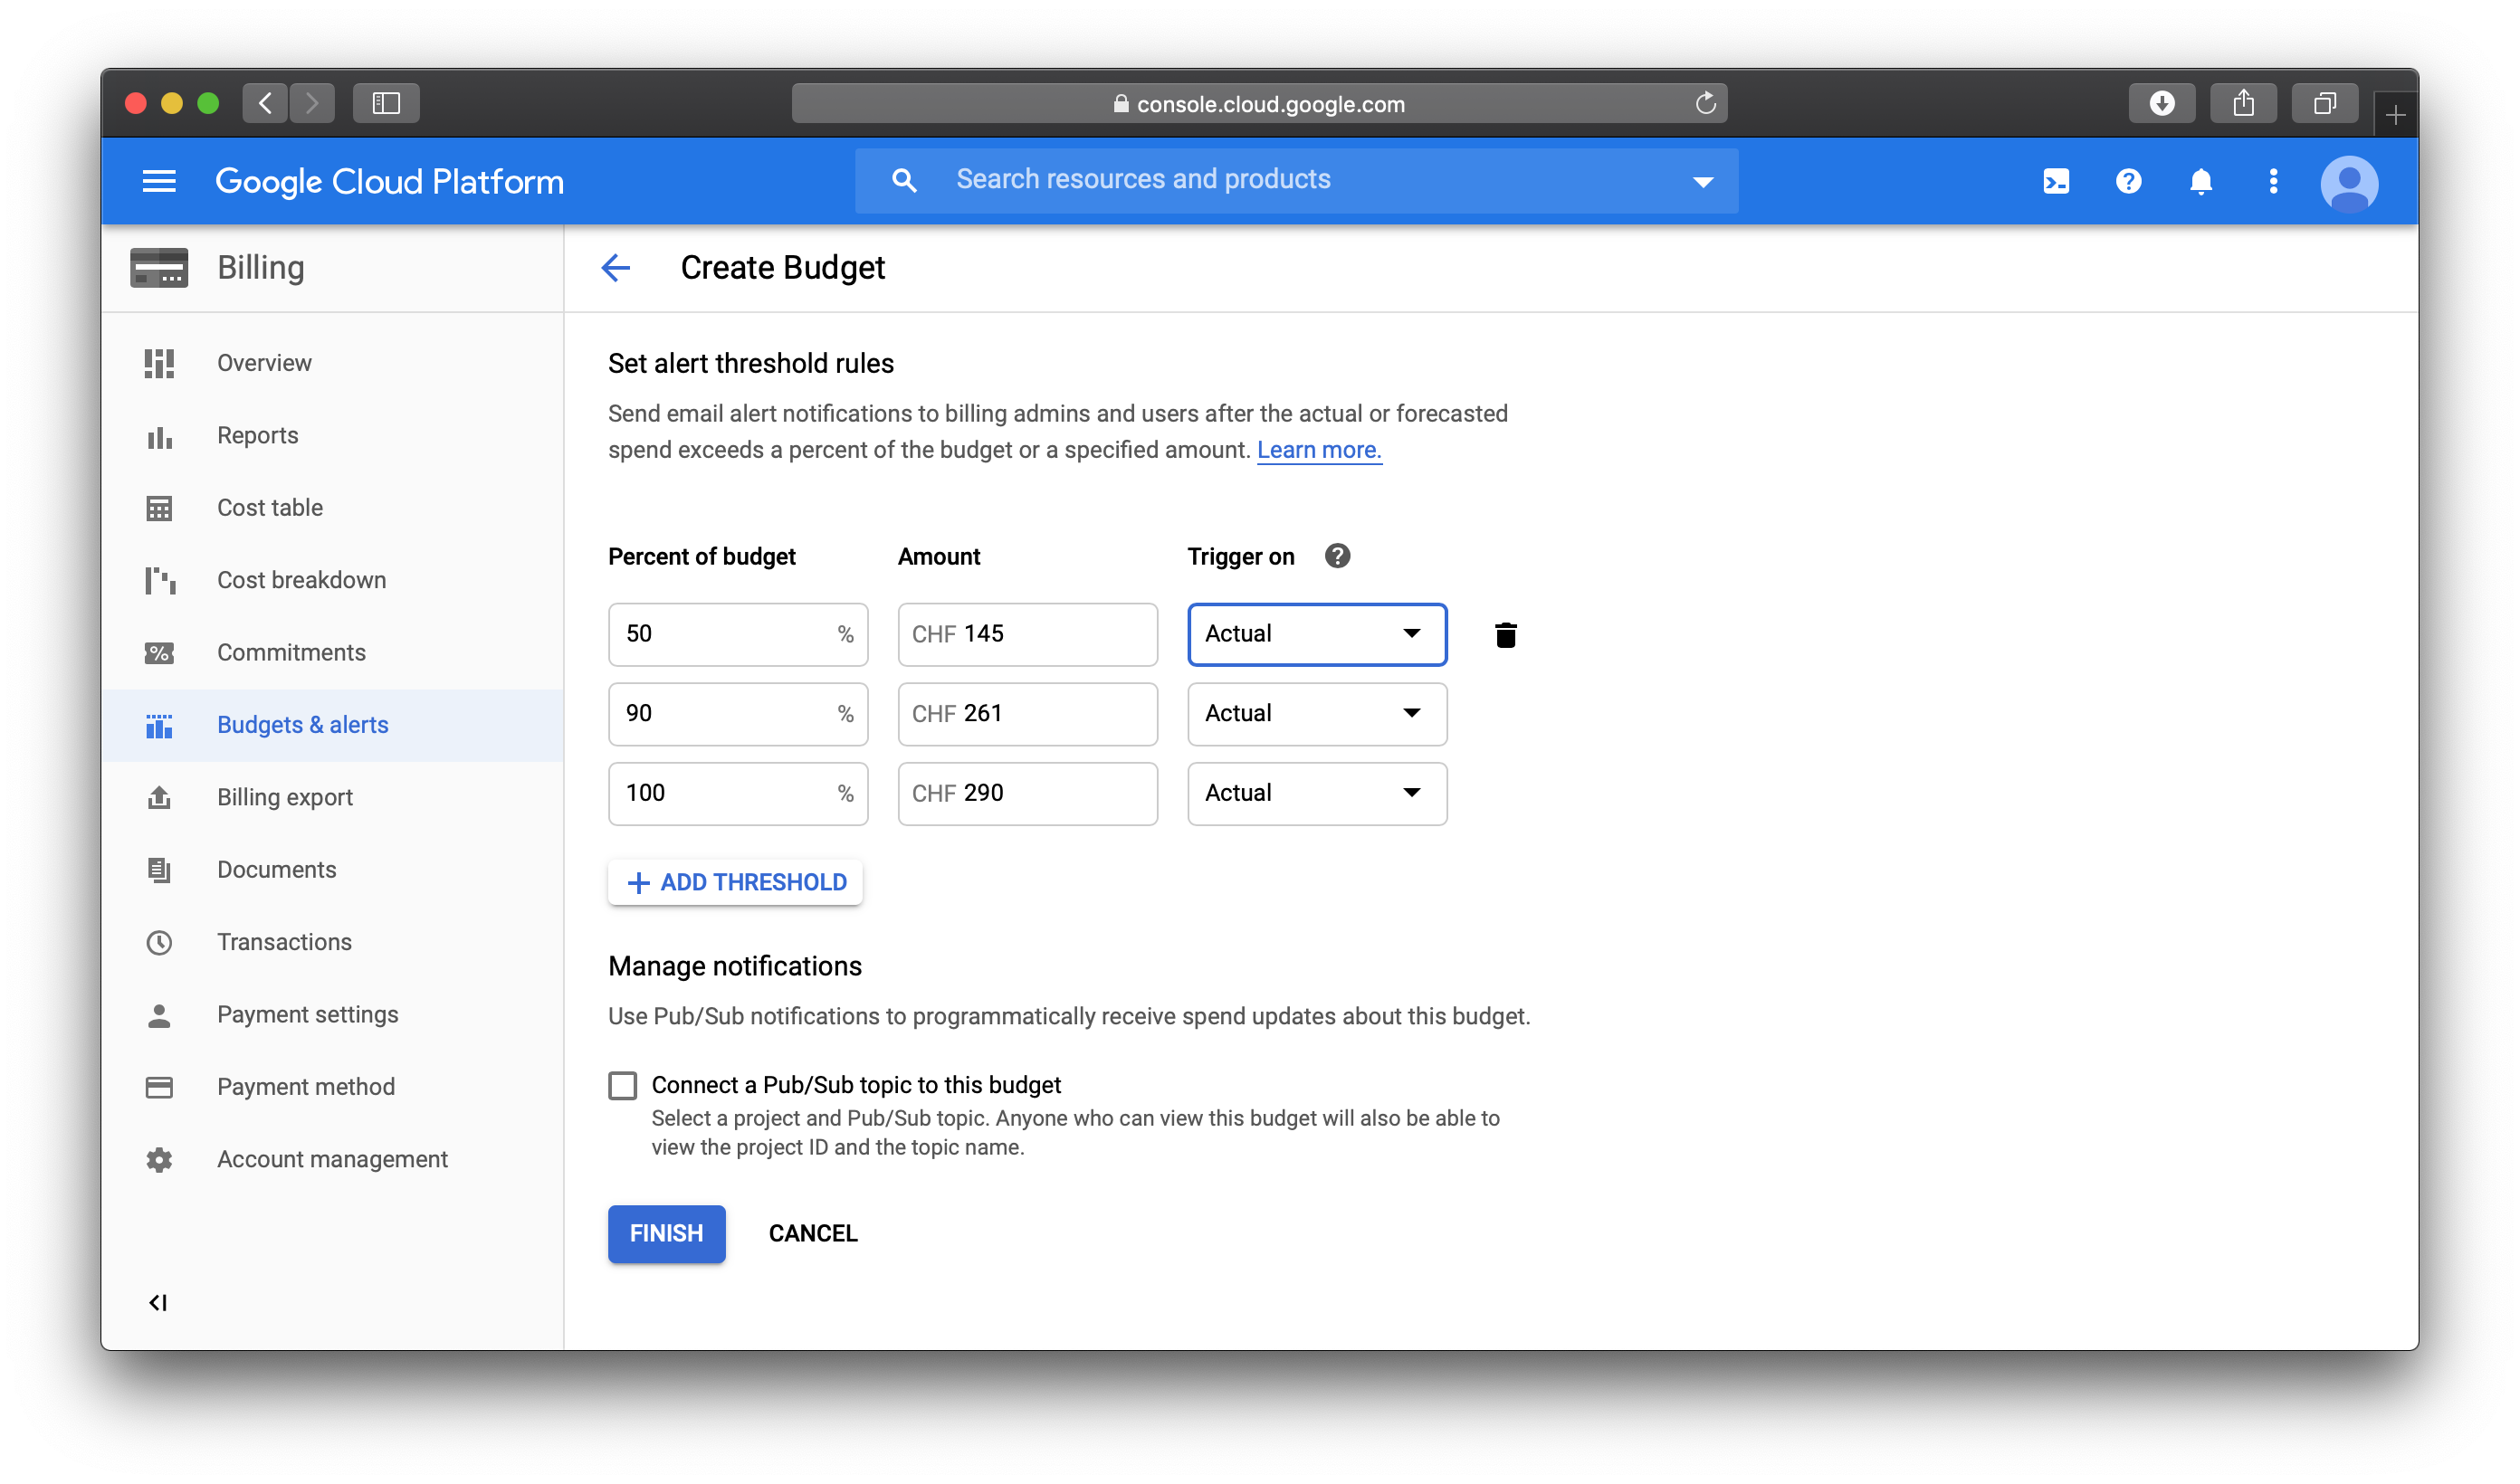
- Keep all default values and click Finish
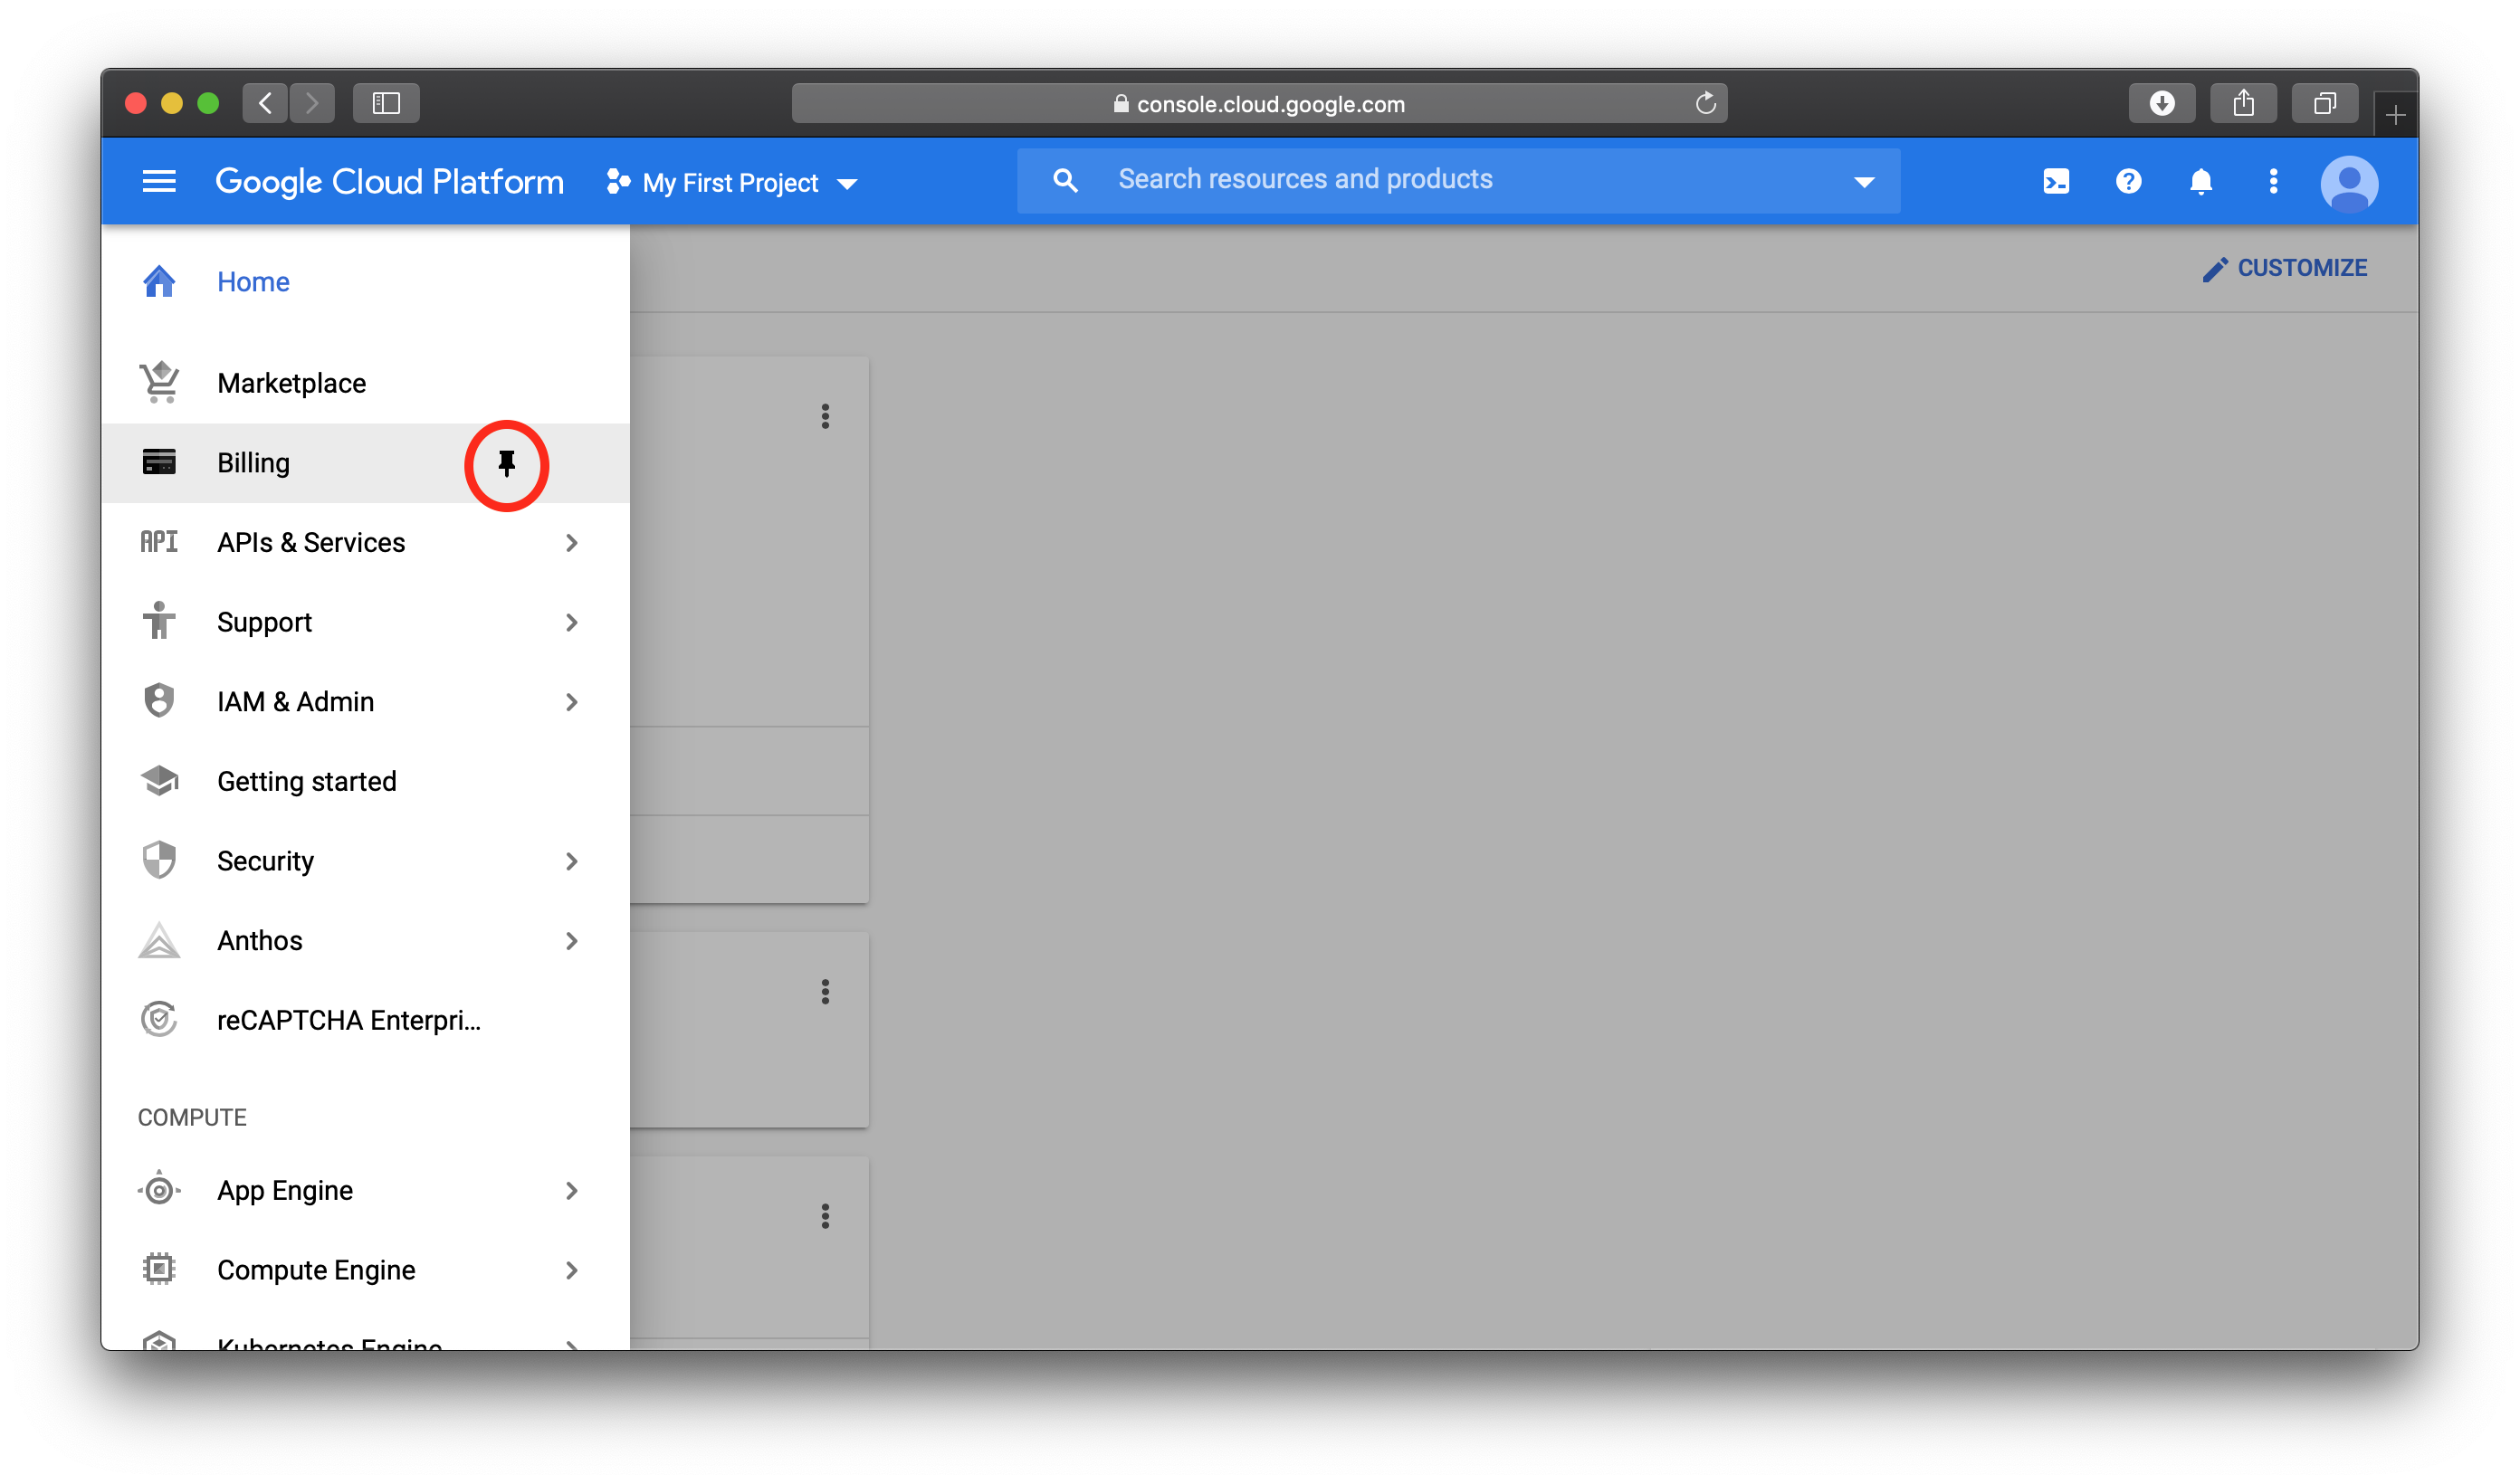
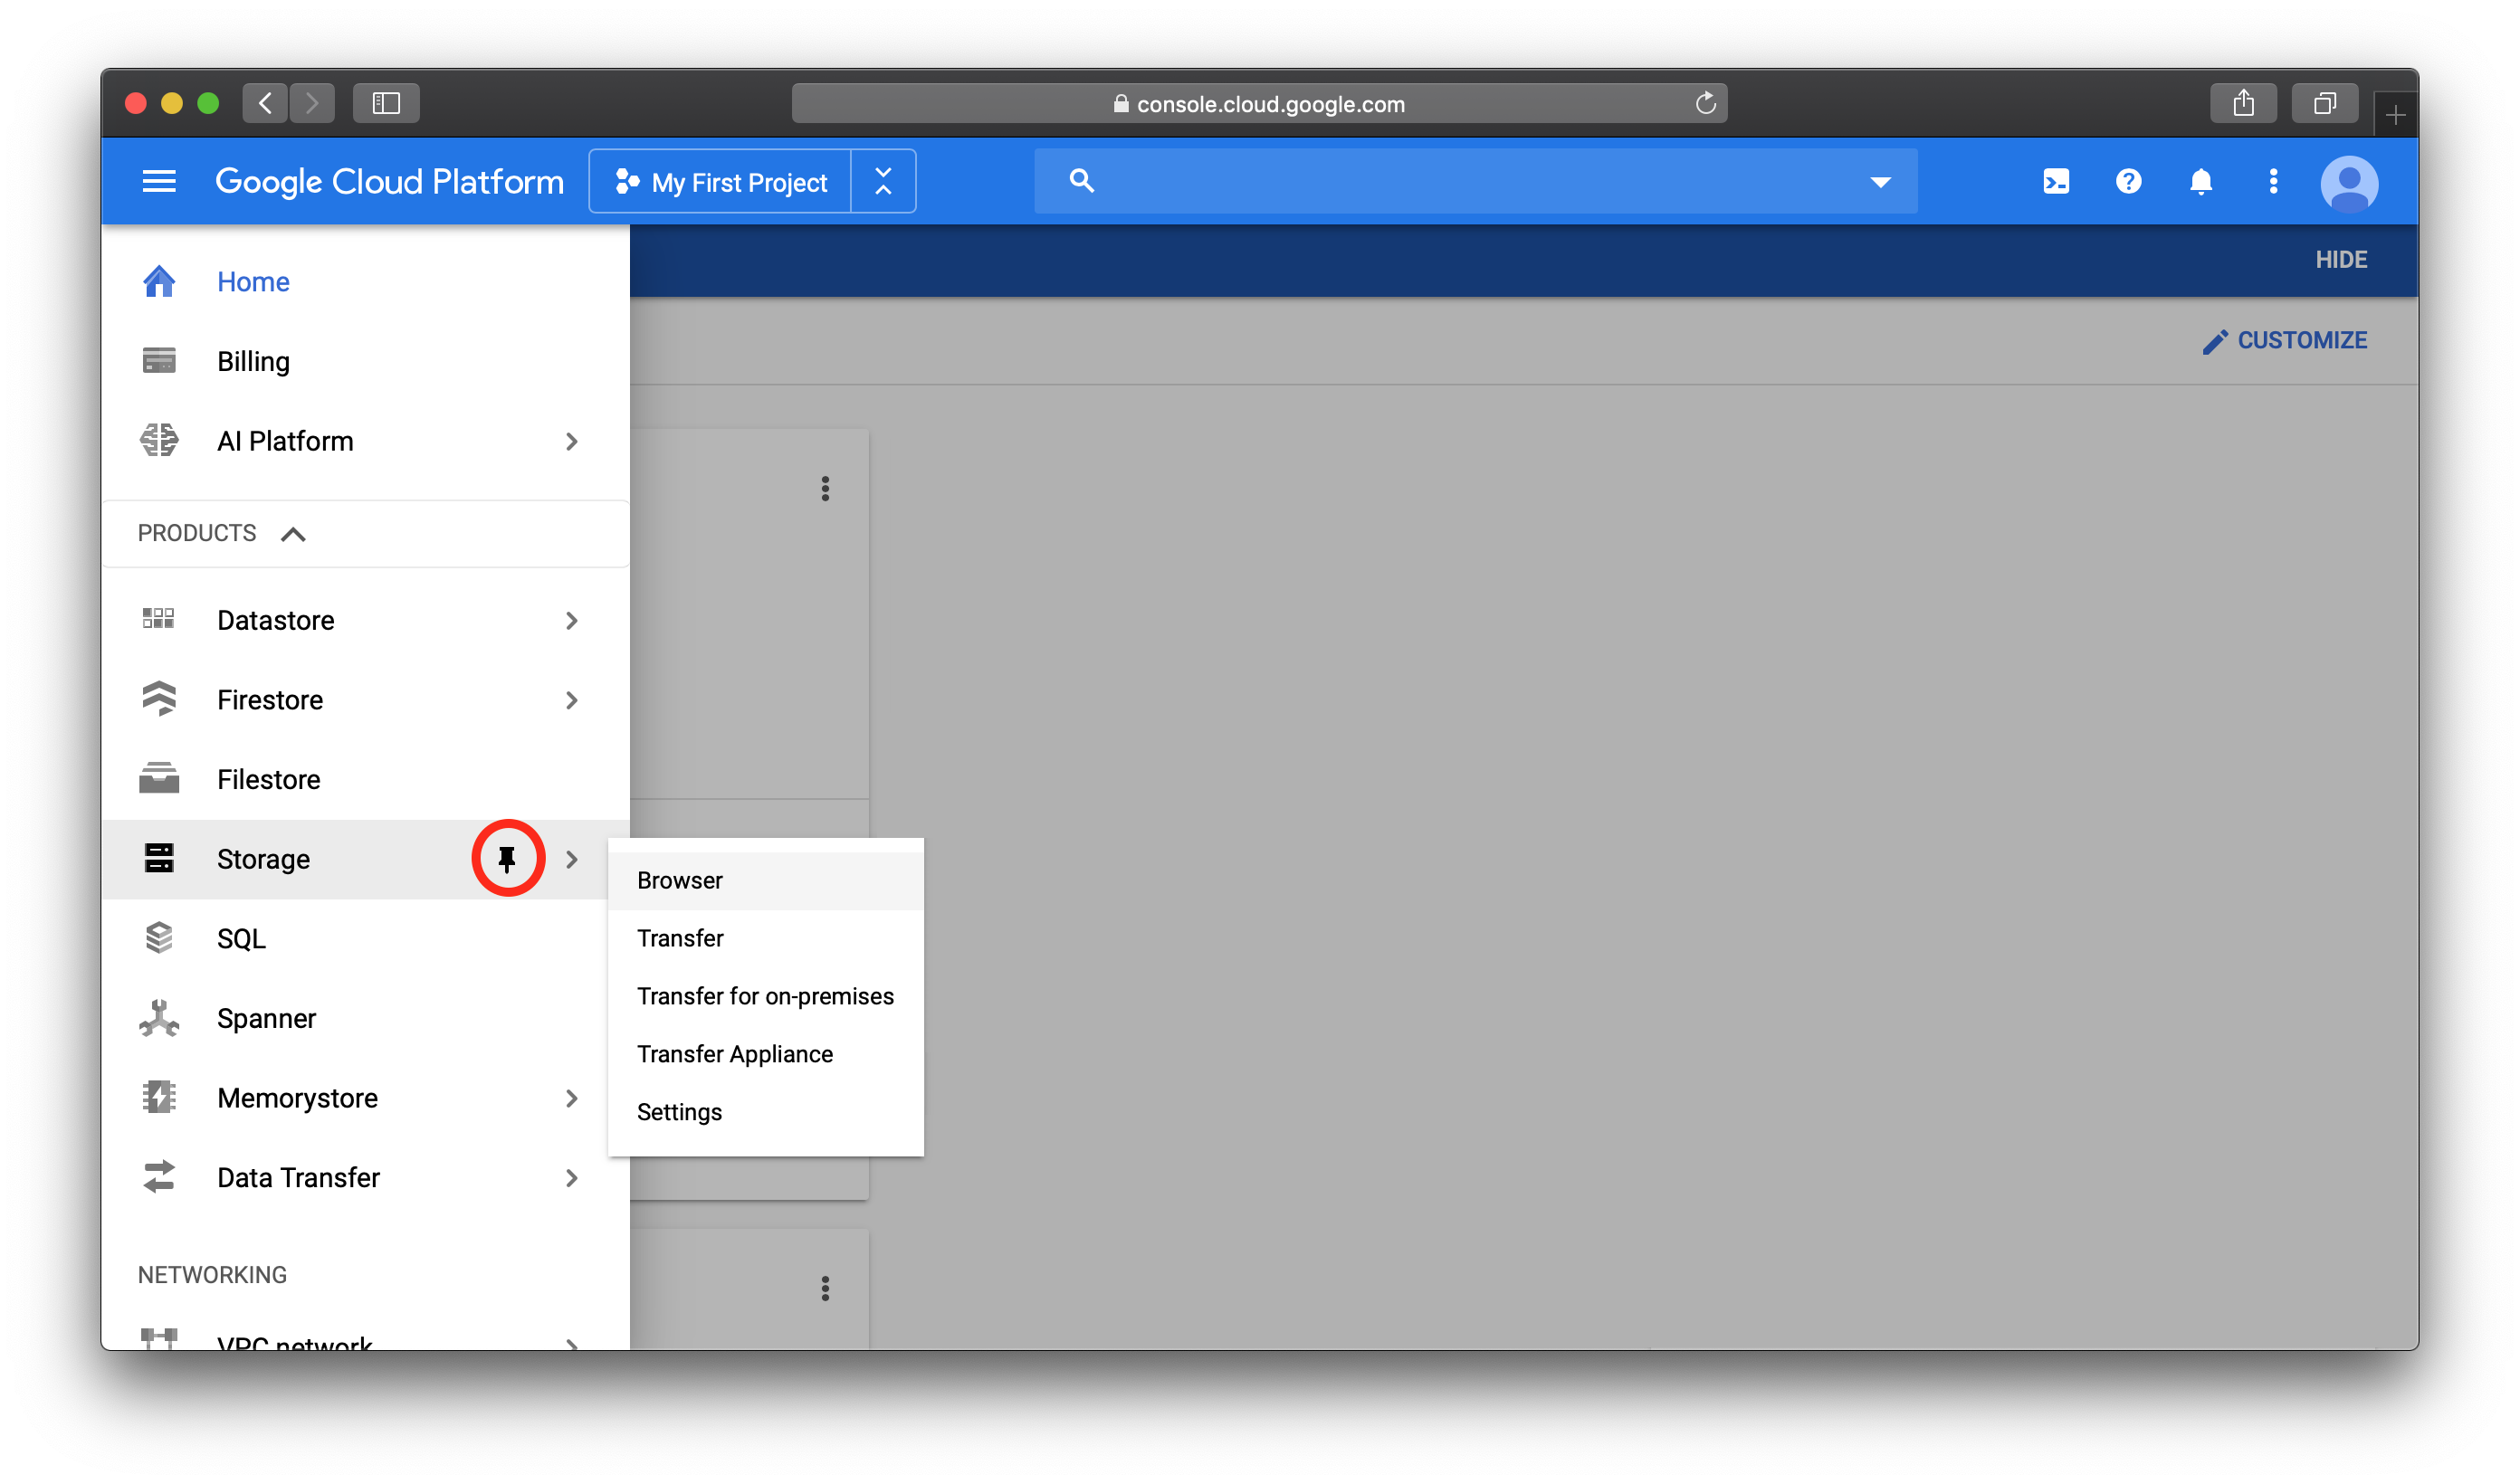
We need to slightly customize the appearance of the console. Click on Navigation menu and then on Home. Move you mouse over the Billing item and then click on the pin pictogram. Scroll down and look for AI Platform and do the same.
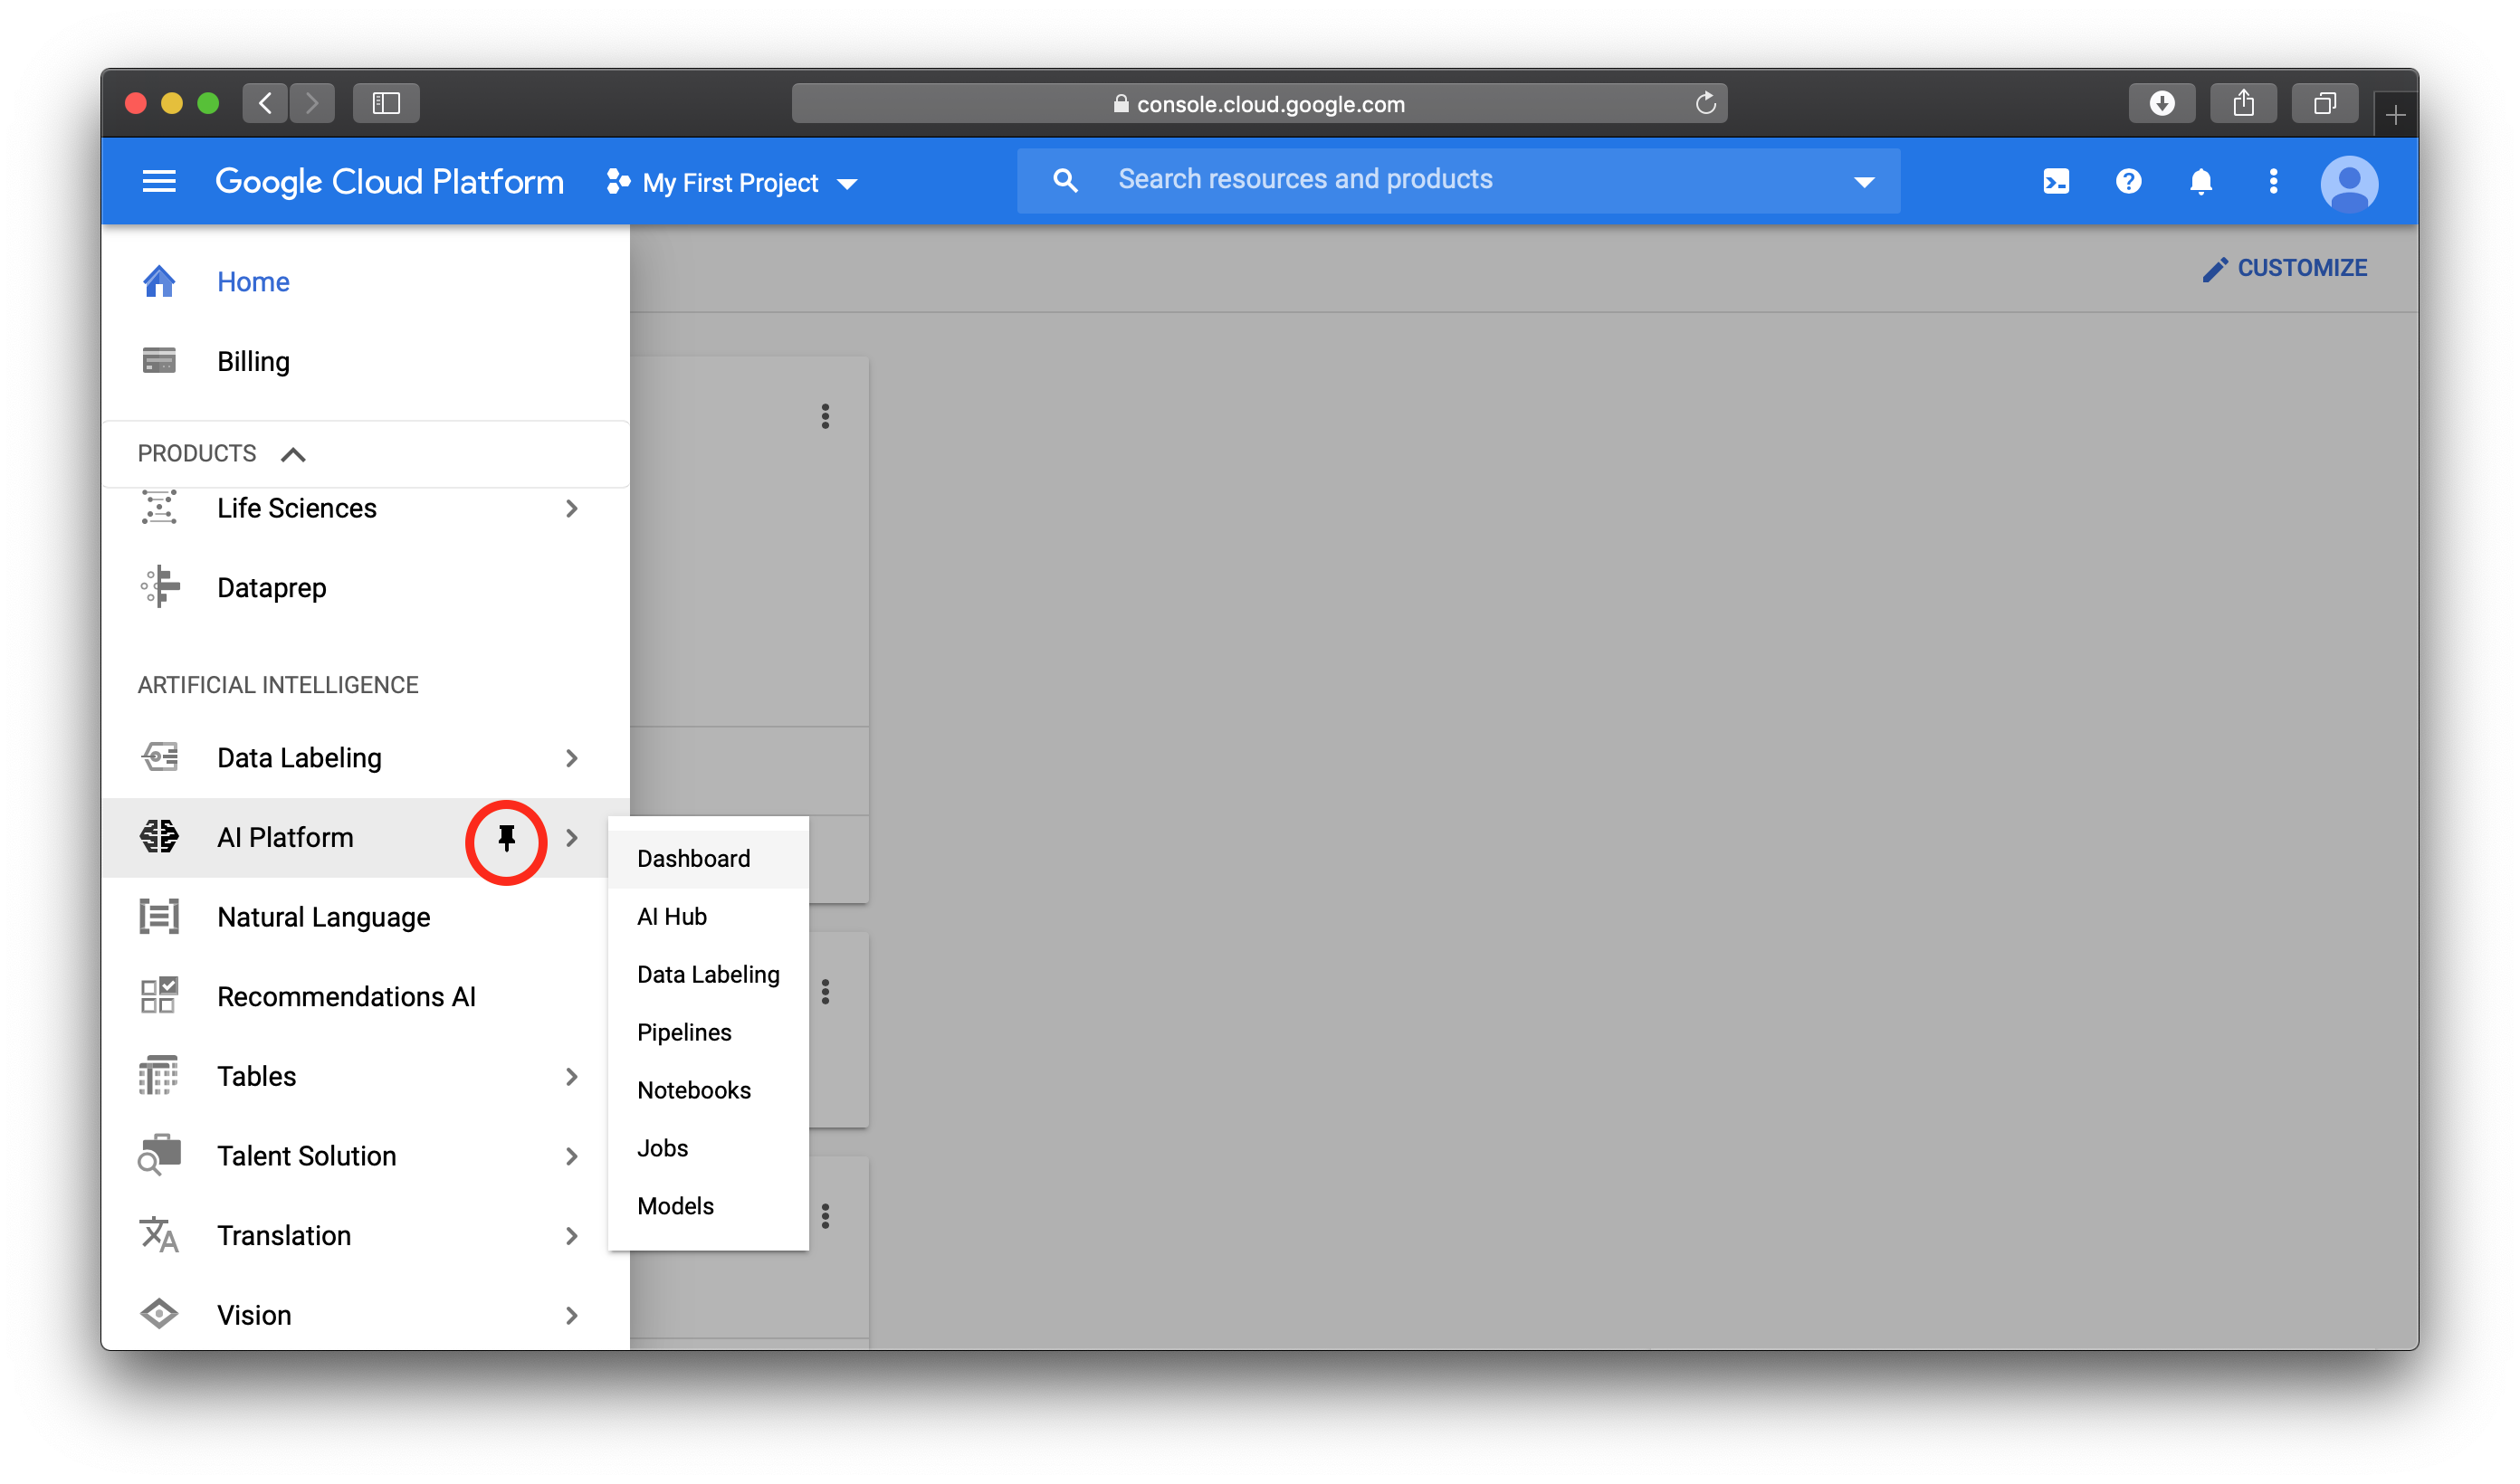
Further, you need to click on AI Platform and navigate to Jobs. Then, you need enable API (if it is not yet enabled).

At some point, on top of the web-page you might be asked to activate a 12-month free trial with $300 credit.
Install and configure {cloudml}
The {cloudml} package provides an R interface to Google’s AI Platform. Instead of installing the latest version of this package from CRAN, we will install it directly from its GitHub repo:
install.packages("remotes")
library(remotes)
install_github("irudnyts/cloudml", force = TRUE)
(The reason why we use my forked repo is that the original package sets the value of the runtime to 1.9, which was deprecated in March 2020. I fixed this and submitted a pull request, but it takes some time to be validated.)
Next, we need to install Google Cloud SDK. The procedure will depend on whether you use Windows or macOS.
Install Google Cloud SDK on Windows
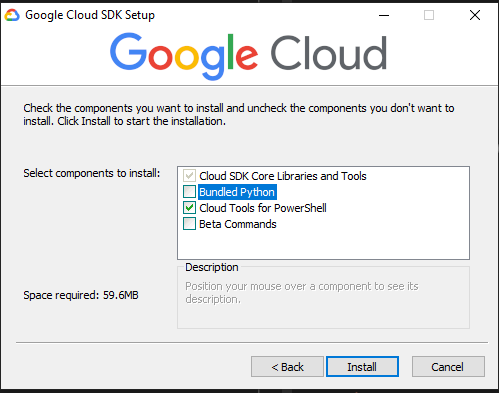
Things are a bit easier here. You simply load the package from R and evoke gcloud_install(). VERY IMPORTANT NOTE: Disable “Bundled Python” option, as it is depicted on the image below the commands:
library(cloudml)
gcloud_install()
Install Google Cloud SDK on macOS
Unfortunately, the built-in function gcloud_install() install bundled Python by default. That is why we will need to install it manually (inspired by the official page).
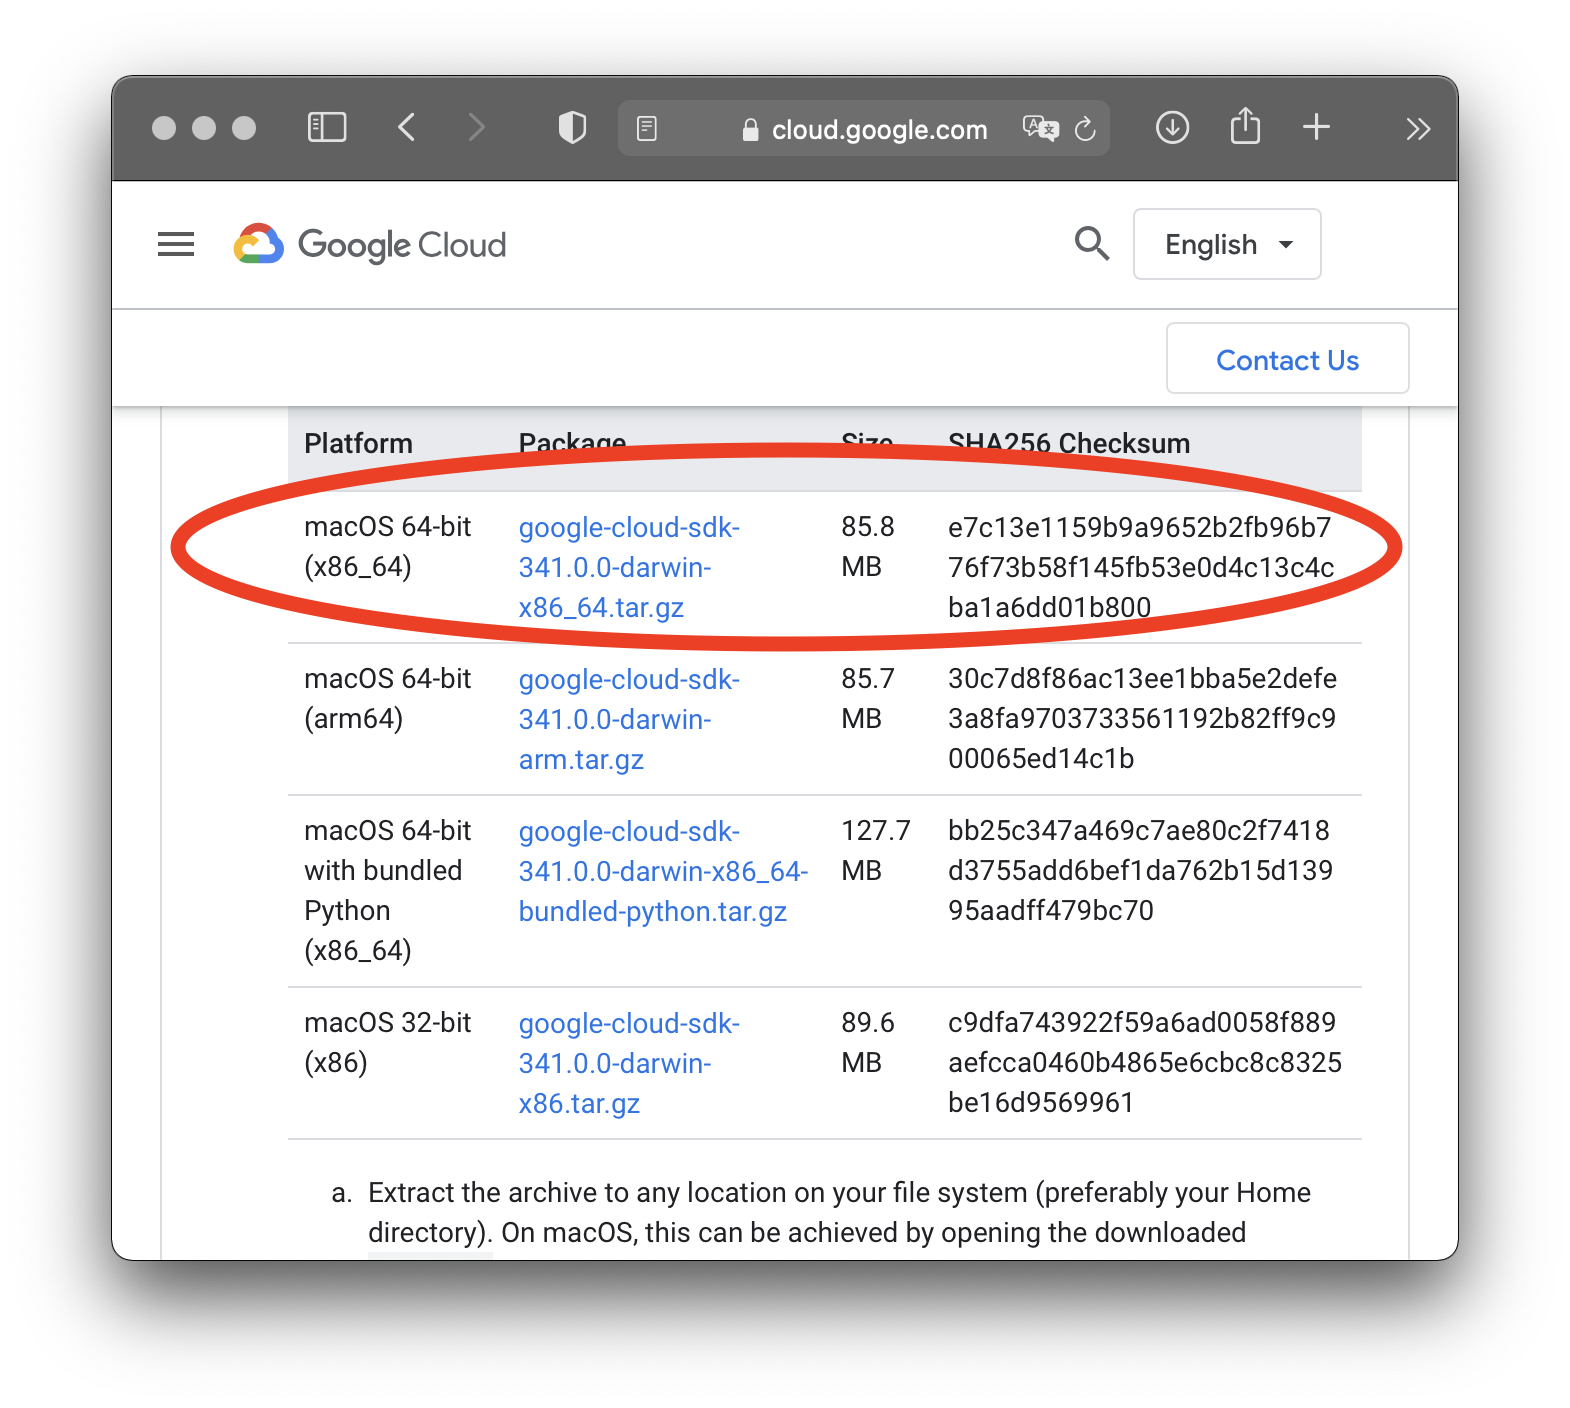
- Go to this web-page and download “macOS 64-bit (x86_64)” (or the other one depending on your processor). Here it is important NOT to download any version “…with bundled Python”. Download this file into “Downloads” folder.
-
Double click on the downloaded file to unzip it.
-
Open Terminal and execute
mv ~/Downloads/google-cloud-sdk ~. In other words, we movedgoogle-cloud-sdkfolder (the unzipped content of the file we downloaded) into the root folder. -
Execute
./google-cloud-sdk/install.shin Terminal. You will be proposed a couple of options:Do you want to help improve the Google Cloud SDK (y/N)?: probably press N key and hit EnterDo you want to continue (Y/n)?: press Y key and hit EnterEnter a path to an rc file to update, or leave blank to use: just hit Enter
-
Now we need to initialize SDK (i.e., authenticate the project). Execute
./google-cloud-sdk/bin/gcloud initin Terminal and choose the account and the project you want to use by choosing numbers from the list and hitting Enter.
Normally, that should be it. You can go ahead and test by running cloudml_train() with some training script. Sometimes, however, you will still get weird errors, e.g., ModuleNotFoundError: No module named 'yaml'. It means that your Python does not have yaml library installed. To solve this issue, you will need to install Python via homebrew and those missing packages via pip.
-
Install
homebrewby executing/bin/bash -c "$(curl -fsSL https://raw.githubusercontent.com/Homebrew/install/HEAD/install.sh)"in Terminal -
Install Python by running
brew install pythonin Terminal -
Install missing libraries by
pip install __name_of_your_library__