Local workstation setup
0. Prerequisites
Once or twice we will use a terminal, running of which is straightforward for all operating systems. In the case of Mac, simply launch the Terminal app. On Windows, the terminal is called Command Prompt. You need to open Start Menu and type Command Prompt or cmd in the search bar.
1. Installing R and RStudio
1.1 Installing R
We start with installing the latest version of R. The latest version is 4.0.5 as of April 18. The course will use 4.0.4 and higher, please do update your R, if you have the earlier version.
R itself is similar to an engine and chassis of a car, that is a bare minimum so that you can start driving. You need to follow steps below to install it:
- Visit https://cloud.r-project.org and click on Download R for …, where … corresponds to your operating system.
- Depending on the operating system:
- For Mac: download “R-4.0.5.pkg”, open this file, and install R
- For Windows: click on base, download the
.exefile, open it, and install R
Check yourself: Open R application. In the console you will see something as follows:
R version 4.0.4 (2021-02-15) -- "Lost Library Book"
Copyright (C) 2021 The R Foundation for Statistical Computing
Platform: x86_64-apple-darwin17.0 (64-bit)

R is free software and comes with ABSOLUTELY NO WARRANTY.
You are welcome to redistribute it under certain conditions.
Type 'license()' or 'licence()' for distribution details.

  Natural language support but running in an English locale

R is a collaborative project with many contributors.
Type 'contributors()' for more information and
'citation()' on how to cite R or R packages in publications.

Type 'demo()' for some demos, 'help()' for on-line help, or
'help.start()' for an HTML browser interface to help.
Type 'q()' to quit R.
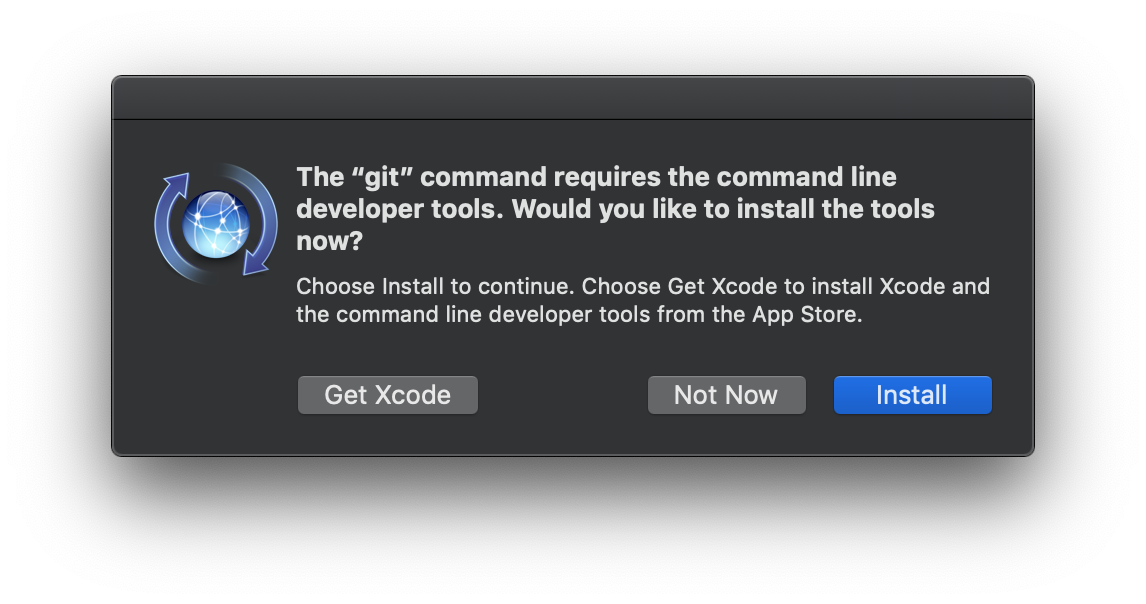
Note: If you are a Mac user, at the first startup of the RStudio, you can be asked to install the command line developer tools in a pop-up window (git, which is described further, requires it). You need to click Install in this case.
Note: If you are a Mac user and you see similar to the following warning messages during the startup
During startup - Warning messages:
1: Setting LC_CTYPE failed, using "C"
2: Setting LC_COLLATE failed, using "C"
3: Setting LC_TIME failed, using "C"
4: Setting LC_MESSAGES failed, using "C"
5: Setting LC_PAPER failed, using "C"
[R.app GUI 1.50 (6126) x86_64-apple-darwin9.8.0]

WARNING: You're using a non-UTF8 locale, therefore only ASCII characters will work. Please read R for Mac OS X FAQ (see Help) section 9 and adjust your system preferences accordingly. [History restored from /Users/nemo/.Rapp.history]
you need to follow steps below:
- Open Terminal
- Write or paste in:
defaults write org.R-project.R force.LANG en_US.UTF-8 - Close Terminal
1.2 Installing RStudio
Caution: Install RStudio only once R has been installed and only in this order.
RStudio is an integrated development environment for R. Following up on our example of the car, RStudio is similar to additional parts, such as exterior, interior, air conditioner, etc. You can drive the vehicle without them, but life is much simpler and pleasant if they are installed.
We will install the free version:
- Visit https://www.rstudio.com/products/rstudio/download/#download.
- Click on the respective version of your operating system, this will start the downloading process.
- Open the file and install RStudio: macOS users need to drag and drop the RStudio file into the Applications folder, Windows users need to follow default steps.
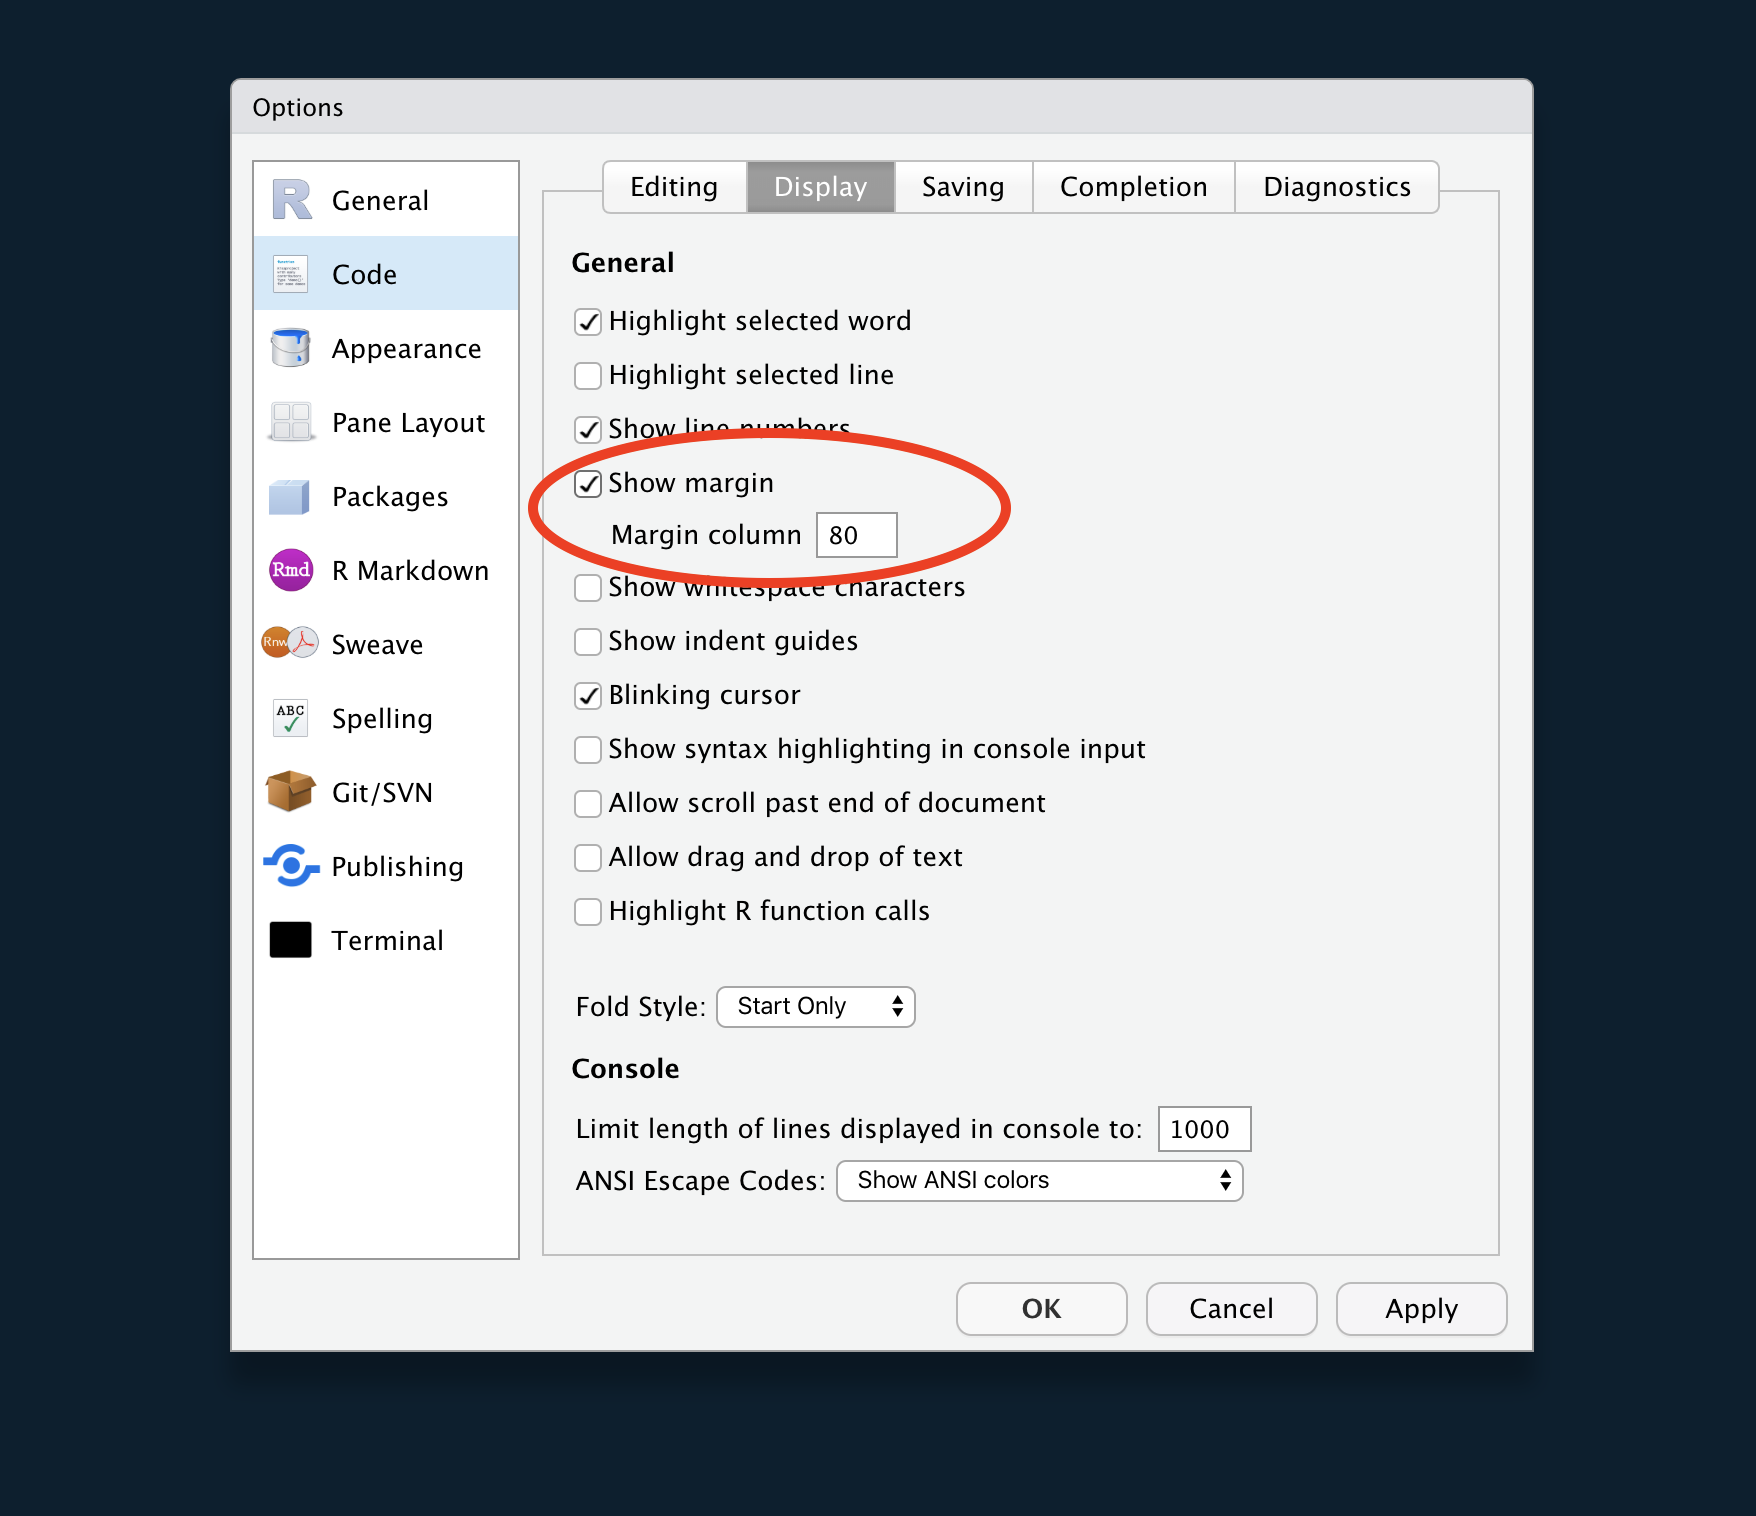
Note: To improve the quality of the code, we will limit the length of lines to 80 symbols. To display the margin in RStudio source editor:
- Open RStudio
- Go to Tools -> Global Options… -> Code -> Display
- Click on Show margin
- Set Margin column to 80 symbols
Check yourself: Open RStudio application. In the console you will see something as follows:
R version 4.0.4 (2021-02-15) -- "Lost Library Book"
Copyright (C) 2021 The R Foundation for Statistical Computing
Platform: x86_64-apple-darwin17.0 (64-bit)

R is free software and comes with ABSOLUTELY NO WARRANTY.
You are welcome to redistribute it under certain conditions.
Type 'license()' or 'licence()' for distribution details.

  Natural language support but running in an English locale

R is a collaborative project with many contributors.
Type 'contributors()' for more information and
'citation()' on how to cite R or R packages in publications.

Type 'demo()' for some demos, 'help()' for on-line help, or
'help.start()' for an HTML browser interface to help.
Type 'q()' to quit R.
Note: If you are a macOS user, when opening RStudio for the first time, you might observe the pop-up window proposing to install the command line developer tools. In this case, go ahead and install it.
1.3 Installing packages
Note: Packages can be installed from both R and RStudio. The installed RStudio is not required.
In this course, we will utilize a number of packages (e.g., {caret}, {tidyverse}, and so on). We do not need to install all of them now, since we will install them along the lectures. However, it is important to be aware how to install a package. If a package is published on CRAN, then the procedure of installing the package is straightforward:
- Open RStudio
- In the console execute the following command:
install.packages("package_name"), wherepackage_nameis the name of the desired package (e.g.,ggplot2for the{ggplot2}pacakge).
Note: Packages should be installed only once. No needs to install them every time you want to use them (it is the same as installing Skype every time you want to call your parents). That is why it is better to do it in the console, not in source editor (i.e., your script files should NOT contain lines like install.packages("package_name")).
Check yourself: To check if the package has been installed successfully, use "name_of_package" %in% rownames(installed.packages()), it should return TRUE.
1.4 Installing {keras}
The entire course uses {keras} package with TensorFlow backend (see the second lecture). We won’t follow the canonical installation, since it differs for macOS and Windows. Instead, we install a Miniconda (a free minimal installer of package management system Conda).
-
Install
{reticulate}install.packages("reticulate") -
Install Miniconda
library(reticulate) install_miniconda() -
Install
{keras}and core Keras and TensorFlow backend:install.packages("keras") library(keras) install_keras(method = "conda")
The process could be very frustrating. Do not let it stop you from deep learning! If you encounter any issues, please do not hesitate to reach out in Slack’s #setup channel.
1.5 Installing {tfruns}
In addition to {keras}, we use {tfruns} package that allows tracking, visualizing, and managing training of models in R. The package can be installed from CRAN as follows:
install.packages("tfruns")
2. Installing and setting up Git, GitHub, and GitHub Desktop
In this section, we will install a distributed version-control system Git, register a new user at GitHub and connect them together.
2.1 Installing and setting up Git
- Download Git installer for Mac or for Windows.
- Open the downloaded file and follow the proposed steps
- Configure your Git to let it know who you are by executing these commands in the terminal:
git config --global user.name "YOUR FULL NAME"
git config --global user.email "YOUR EMAIL ADDRESS"
Please do use your UNIL email address, so that we can exploit GitHub Student Developer Pack afterward.
Check yourself: Type in the terminal: git --version. It should display Git version, (e.g., git version 2.23.0)
Note: For Mac users, Git could be already preinstalled. However, Apple does not provide the latest version, that is why we have just installed the latest Git. If the previous command shows git version 2.7.0 (Apple Git-66), we will need to change the path of the executable command git. To do so execute the following commands in the terminal:
cd ~
touch .bash_profile
echo 'export PATH="/usr/local/bin:${PATH}"' >> .bash_profile
source .bash_profile
To check if it worked, type which git in the terminal and expect to see /usr/local/bin/git.
2.2 Registering a GitHub account
-
Visit https://github.com and fill in the fields. Please use the same email (i.e., UNIL email) address and short username without special symbols like a hyphen, periods, etc. Furthermore, use the free plan.
-
Set up an SSH connection follow steps at https://help.github.com/en/articles/generating-a-new-ssh-key-and-adding-it-to-the-ssh-agent and https://help.github.com/en/articles/adding-a-new-ssh-key-to-your-github-account
-
Set up a GitHub Student Developer Pack by visiting https://education.github.com/discount_requests/new
2.3 Installing and setting up GitHub Desktop
- Visit https://desktop.github.com and download GitHub Desktop
- Install it
- Fill in your username and password